


Happiest of Holidays from Whip Mix
Here at Whip Mix, we are so excited to spend the holidays surrounded by friends and family. Before we log off for the holidays,...

Doing the Telephone Tango: How to get your FOOT in the door.
Every call you make is like a dance. So how do you Tango phone dance with a Dentist, Lab Owner, Dental Technician, Office...

10 Fun Trivia Facts to Share With Your Friends and Family on Thanksgiving
The average American household spends 9.6 hours preparing for Thanksgiving dinner. While you are waiting for this mouthwatering...

Taking Care of Our Vets with Digital Technology
Today am I so ever grateful to be able to sit in my office, get paid to do what I absolutely love, live where I want to live...
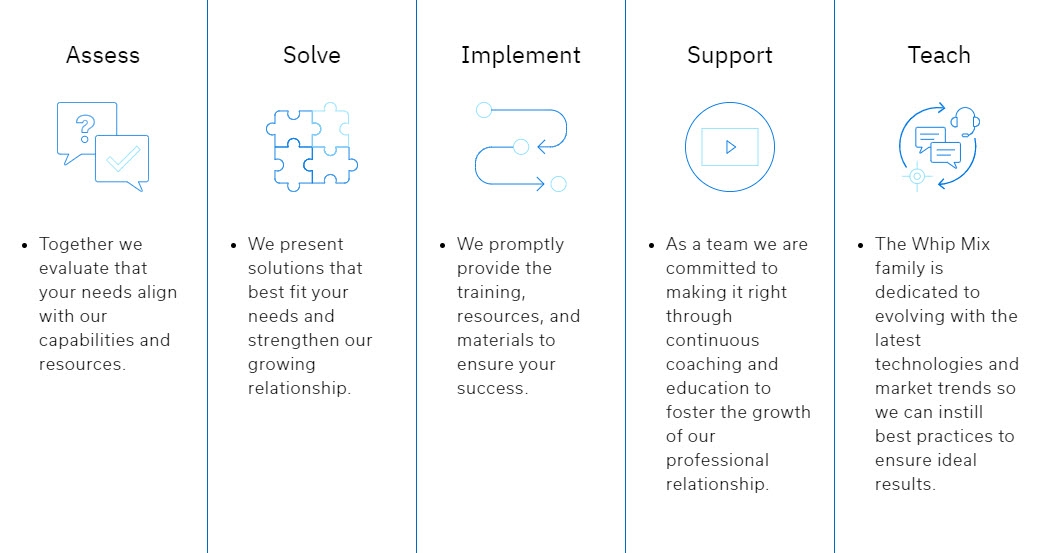
At Whip Mix, we A.S.I.S.T. (yes, it's misspelled)
For over a century, Whip Mix has provided our customers with world-class products and services. From our analog products like...
Take advantage of Section 179 Tax Deductions
Are you looking to invest in some advanced dental equipment for your practice, like an intraoral scanner or 3DPrinter? Then you...

How Dental Schools are Benefiting from Incorporating Digital Equipment
It’s important for dental students to be exposed and having the ability to learn how to use intraoral scanners in the early...

Leave a comment