

.jpg)
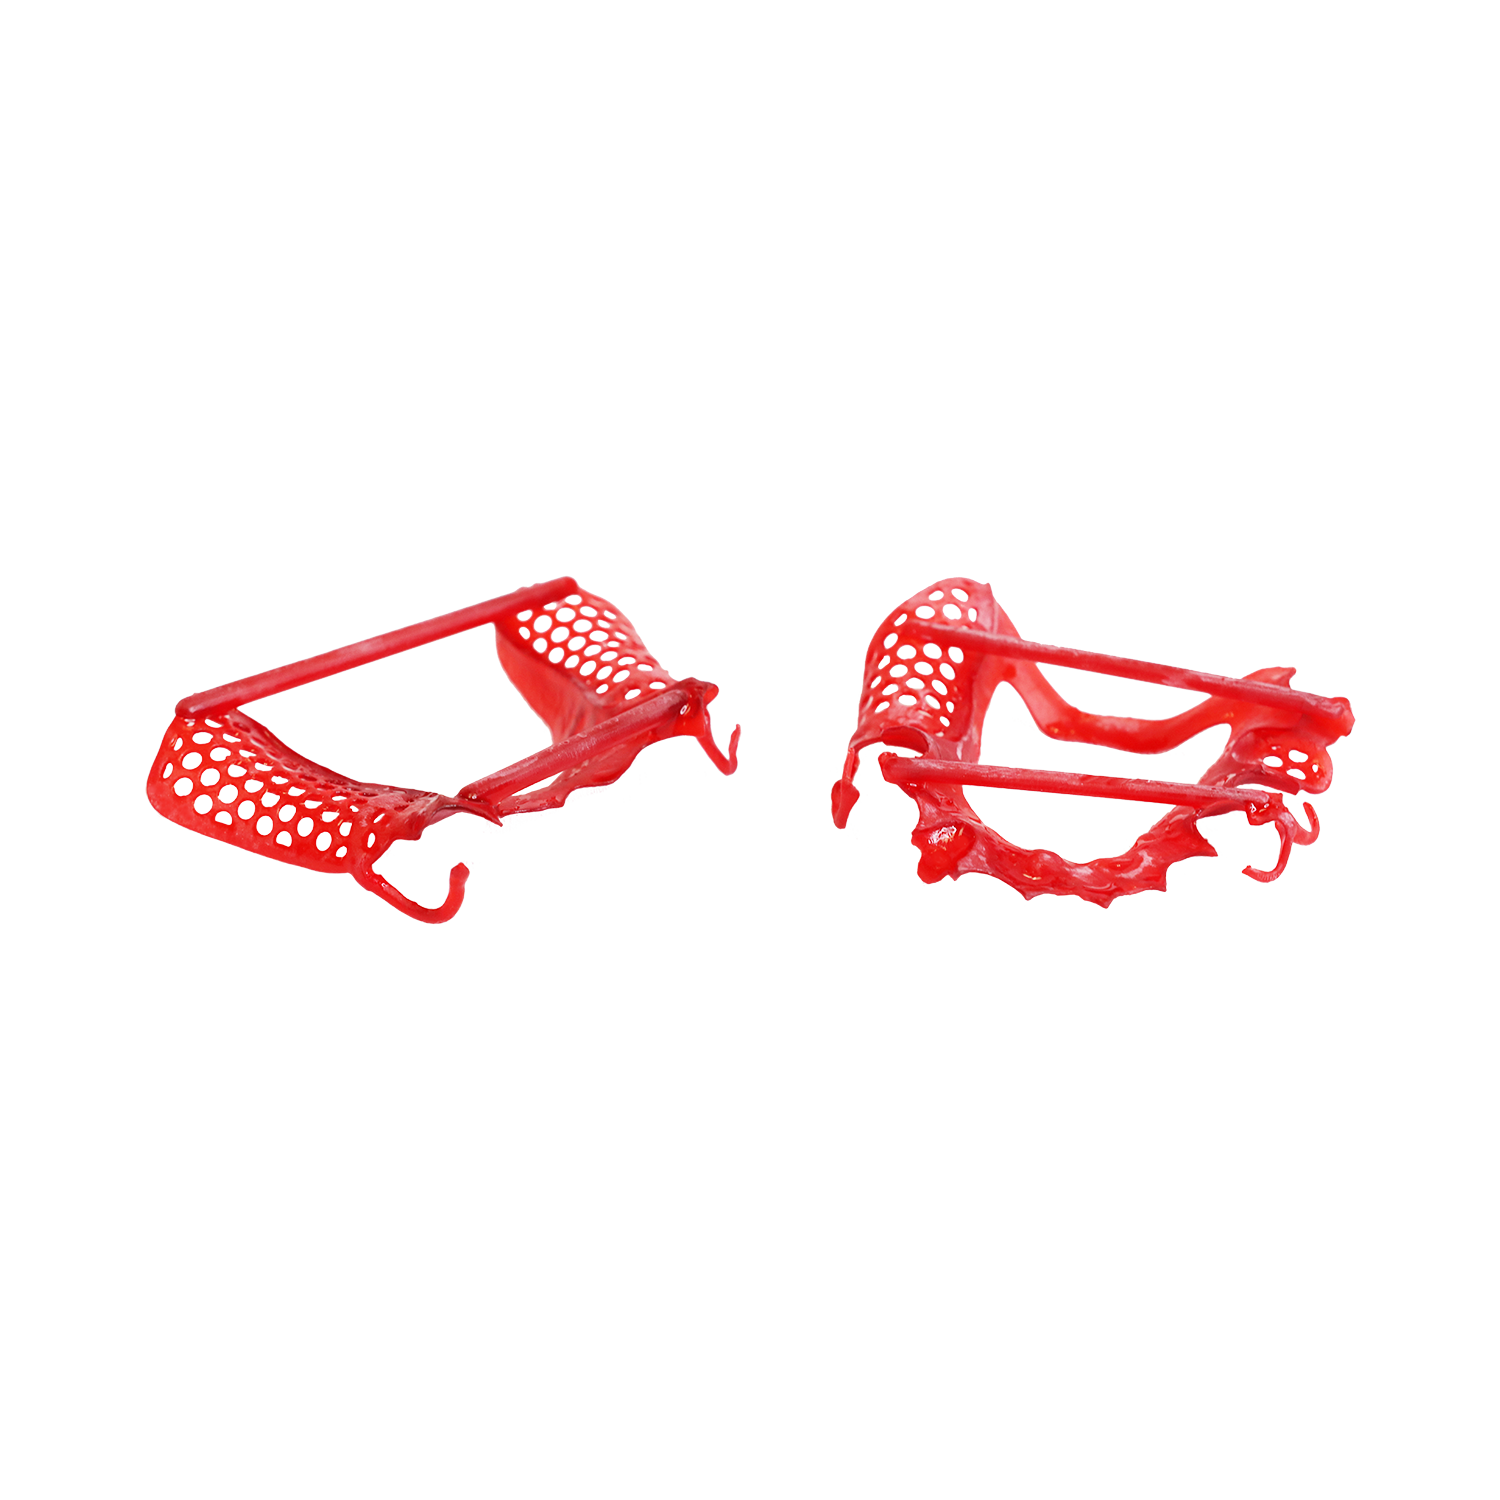
The use of digital impressions is rapidly growing, as they offer patient comfort, increased accuracy (providing the office has had adequate training) and faster seat times. By fully digitizing your dental laboratory’s workflow, you can now produce crowns and bridges more efficiently and accurately for your doctors that are using an intraoral scanner (IOS). Closing the gap with a 3D printer will allow you to print your models in house for those cases that you don’t feel comfortable going model-less with. Aside from printing models, 3D printing can be used for the fabrication of custom impression trays, surgical guides, splints, patterns for partial frameworks and crowns and bridges.
According to an article by 3D Printing Industry, Scott Dunham, senior business analyst at SmarTech, stated that the dental industry “will be the most radically changed by 3D printing in the next decade when we look at where it’s at today versus what it will look like thanks to 3D in the next five to ten years. Part of that is because the methods used today for fabrication of dental restorations are surprisingly primitive.”
Taking a closer look at desktop 3D printers
There are several desktop 3D printers on the market that are being used in the dental industry. But how do you know which one will fit your needs best? Let’s take a closer look at four of the most popular desktop printers in regard to open source printing, build envelope size and accuracy.
Form 2
Open Source Printing – According to FormLabs, you can use 3rd party materials on the Form 2 printer. You can access Open Mode printing in your printer’s settings. Once Open Mode is activated on the Form 2 touchscreen, the following functions are disabled: resin heating, the resin wiper, resin dispensing, automatic sensing of resin level, resin cartridge detection and resin tank detection. In Open Mode, the heater under the resin tank is disabled due to the risk of spillage caused by unknown resin viscosity. For this same reason, the wiper is also disabled.
Build Envelope Size (X,Y, Z mm) – 145 x 145 x 175
Accuracy – The Form 2 printer prints at 140 micron with a 405 nanometer light source. At 140 micron, this printer is ideal for the fabrication of custom impression trays, surgical guides and splints. However, it is not accurate enough for the fabrication of crown & bridge and partial castables. With a 405 nanometer light source, the Form 2 printer will not print crystal clear biocompatible resins, instead they will have a yellowish tint.
EnvisionTEC Vida
Open Source Printing – According to EnvisionTEC, their printers are designed to work exclusively with EnvisionTEC materials.
Build Envelope Size (X,Y, Z mm) – 140 x 79 x 100
Accuracy – The Vida printer prints at 73 micron with a 385 nanometer light source. At 73 microns, this printer is ideal for the fabrication of crown and bridge models, custom impression trays, surgical guides, splints and patterns for partial frameworks and crowns and bridges. With a 385 nanometers light source, the Vida will print crystal clear biocompatible resins.
Bego Varseo
Open Source Printing – According to Bego, their printers are designed to work exclusively with Bego materials.
Build Envelope Size (X,Y, Z mm) – 96 x 54 x 85
Accuracy – The Varseo printer prints at 50 micron with a 405 nanometer light source. At 50 micron, this printer is ideal for the fabrication of crown and bridge models, custom impression trays, surgical guides, splints and patterns for partial frameworks and crowns and bridges. With a 405 nanometer light source, the Varseo will not print crystal clear biocompatible resins, instead it will have a yellowish tint.
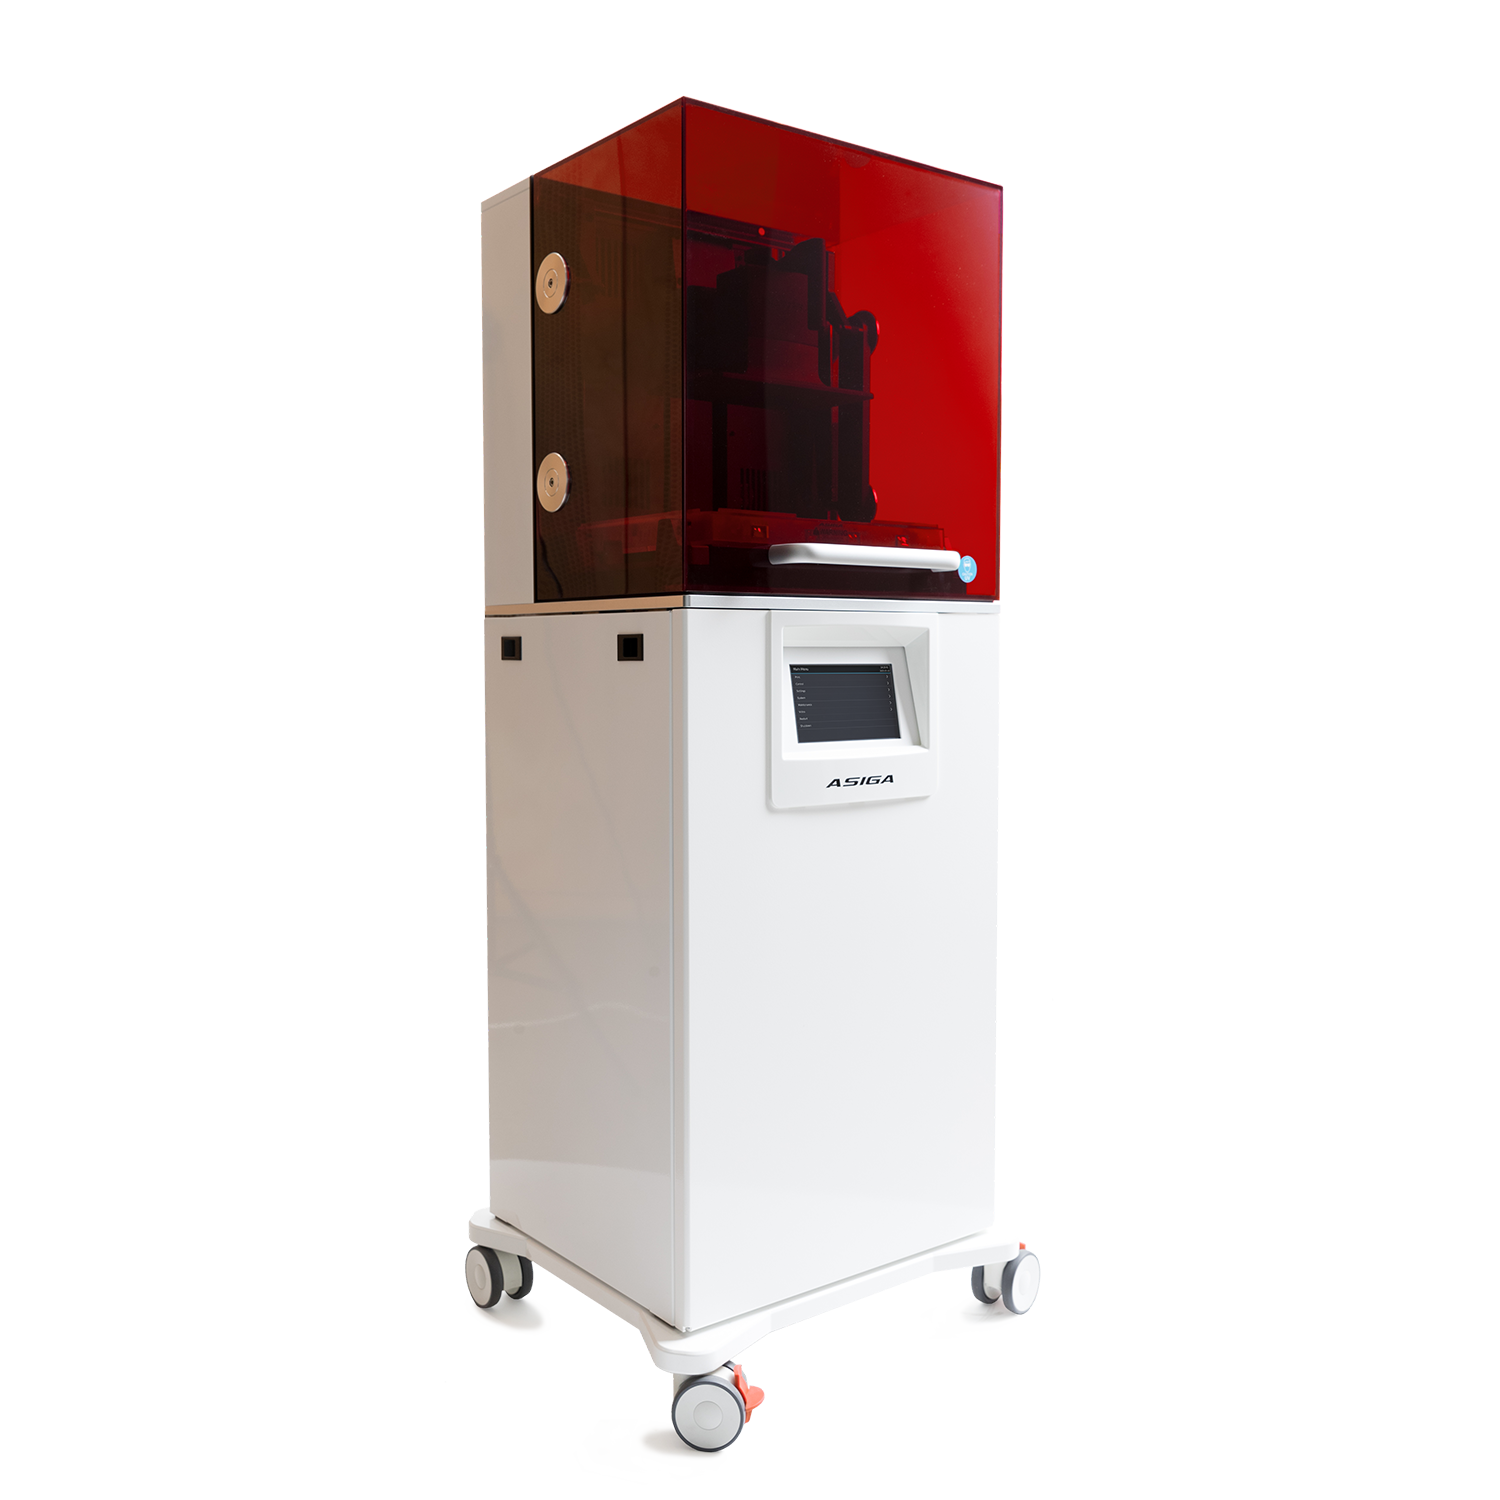
Asiga Pro2 75
Open Source Printing – The Asiga printer is an open source 3D printer and has approved the use of Whip Mix 3D printing resins, NextDent, Pro3dure and DETAX resins.
Build Envelope Size (X,Y, Z mm) – 144 x 81 x 200
Accuracy – The Asiga Pro2 75 prints at 75 micron with a 385 nanometer light source. At 75 micron, this printer is ideal for the fabrication of crown and bridge models, custom impression trays, surgical guides, splints and patterns for partial frameworks and crowns and bridges. With a 385 nanometer light source, the Pro2 75 will print crystal clear biocompatible resins.
Common Questions & Answers
How long does it take to print?
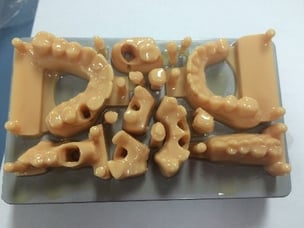
Using the Asiga Pro2 75, this horizontal print run took 1 hour and 40 minutes at 75 microns.
How much will it cost me to print in-house?
Using the Asiga Pro2 75 with Whip Mix resins, you could expect to pay the following:
| Print Item | Approximate Cost |
| Fit Check Model | $2 |
| Quadrant with articulator attachment | $2 - $3 |
| Full arch with articulator attachment | $5 - $6 |
| Ortho Model (over 18mm in height) | $9 |
| Surgical Guide | $4 |
| Single Coping | $0.05 |
| Single Full Cast Crown | $0.10 |
| Custom Tray | $3.00 |
| Partial Framework | $1.25 |
How many models can I print in one run?
You can fit approximately 3 - 4 full arch models or 8 – 10 quadrants laying horizontally. With the Z axis height being 200mm, you could potentially stack up to 4 rows high allowing you to print 12 – 14 full arch models or 32 – 40 quadrants in one print run.
How easy is it to clean and change materials?
When using the Asiga Pro2 75, you can store your build tray with your resin in a covered box. It is ideal to have a tray designated for each resin material you use for ease of use and minimal clean up. When you are ready to swap out the material, simply lift up the spring loaded clamps, remove the tray and replace with another tray already loaded with your resin of choice. Simply wipe down the build plate and you are ready for your next print run.
Conclusion
Digital dentistry is rapidly moving forward. To maintain and stay competitive, the addition of 3D printing is necessary for today’s dental labs. However, it is important for you research and understand the advantages and limitations of the 3D printers available so you can make an informed decision to ensure that your lab is set for the future.


Leave a comment