

Most laboratory owners have or are presently exploring the possibility of integrating 3D printing into their lab’s everyday workflows in almost all of their departments. That is, if they haven’t already. 3D printing, often referred to as rapid prototyping or additive manufacturing, has become a staple in dental laboratory technology.
One of Whip Mix’s many progressive customers, Atlanta Oral & Maxillofacial Surgery, found the need to incorporate the growing technology and participated in an eBook we created that incorporated the experiences of five dental labs.
Atlanta Oral & Maxillofacial Surgery was fast-becoming aware of how much more digital work they would be doing, so the idea of having material accessibility and flexibility was very appealing. An open printer that accepts any material enabled them to research, then use the best materials for the practice’s applications.
The following blog, written by Larry Thompson, Lab Tech / Surgical Assistant, is taken from the eBook entitled How We Integrated 3D Printing: Stories from 5 Forward-thinking Dental Laboratories.
Our CAD CAM History
Our facility is a surgical center that has been providing specialty surgical services since 1990 with the latest in technological advancements. We routinely use 3-dimensional x-ray and Trios intraoral scanners to promote the advantages of dental implants. We also scan approximately 5 – 6 patients every day for temporary teeth, custom abutments, study models, ortho models, surgical guides and flippers. Because our lab on the premises is very small, we look to technology to help us turn out the amount of laboratory work that is needed.
Deciding to Purchase a 3D Printer
The Dr. and I decided that we needed to start looking into 3D printers some time ago, since we thought they would be useful for our orthognathic cases and for printing surgical guides, but I don’t think we ever imagined that a 3D printer would become so critical to our practice. Not only do we use it for models and surgical guides, we also print surgical splints for the orthognathic cases and bite jigs for full edentulous implant cases. Basically, we print anything that we can that will help us in surgery.
How We Decided
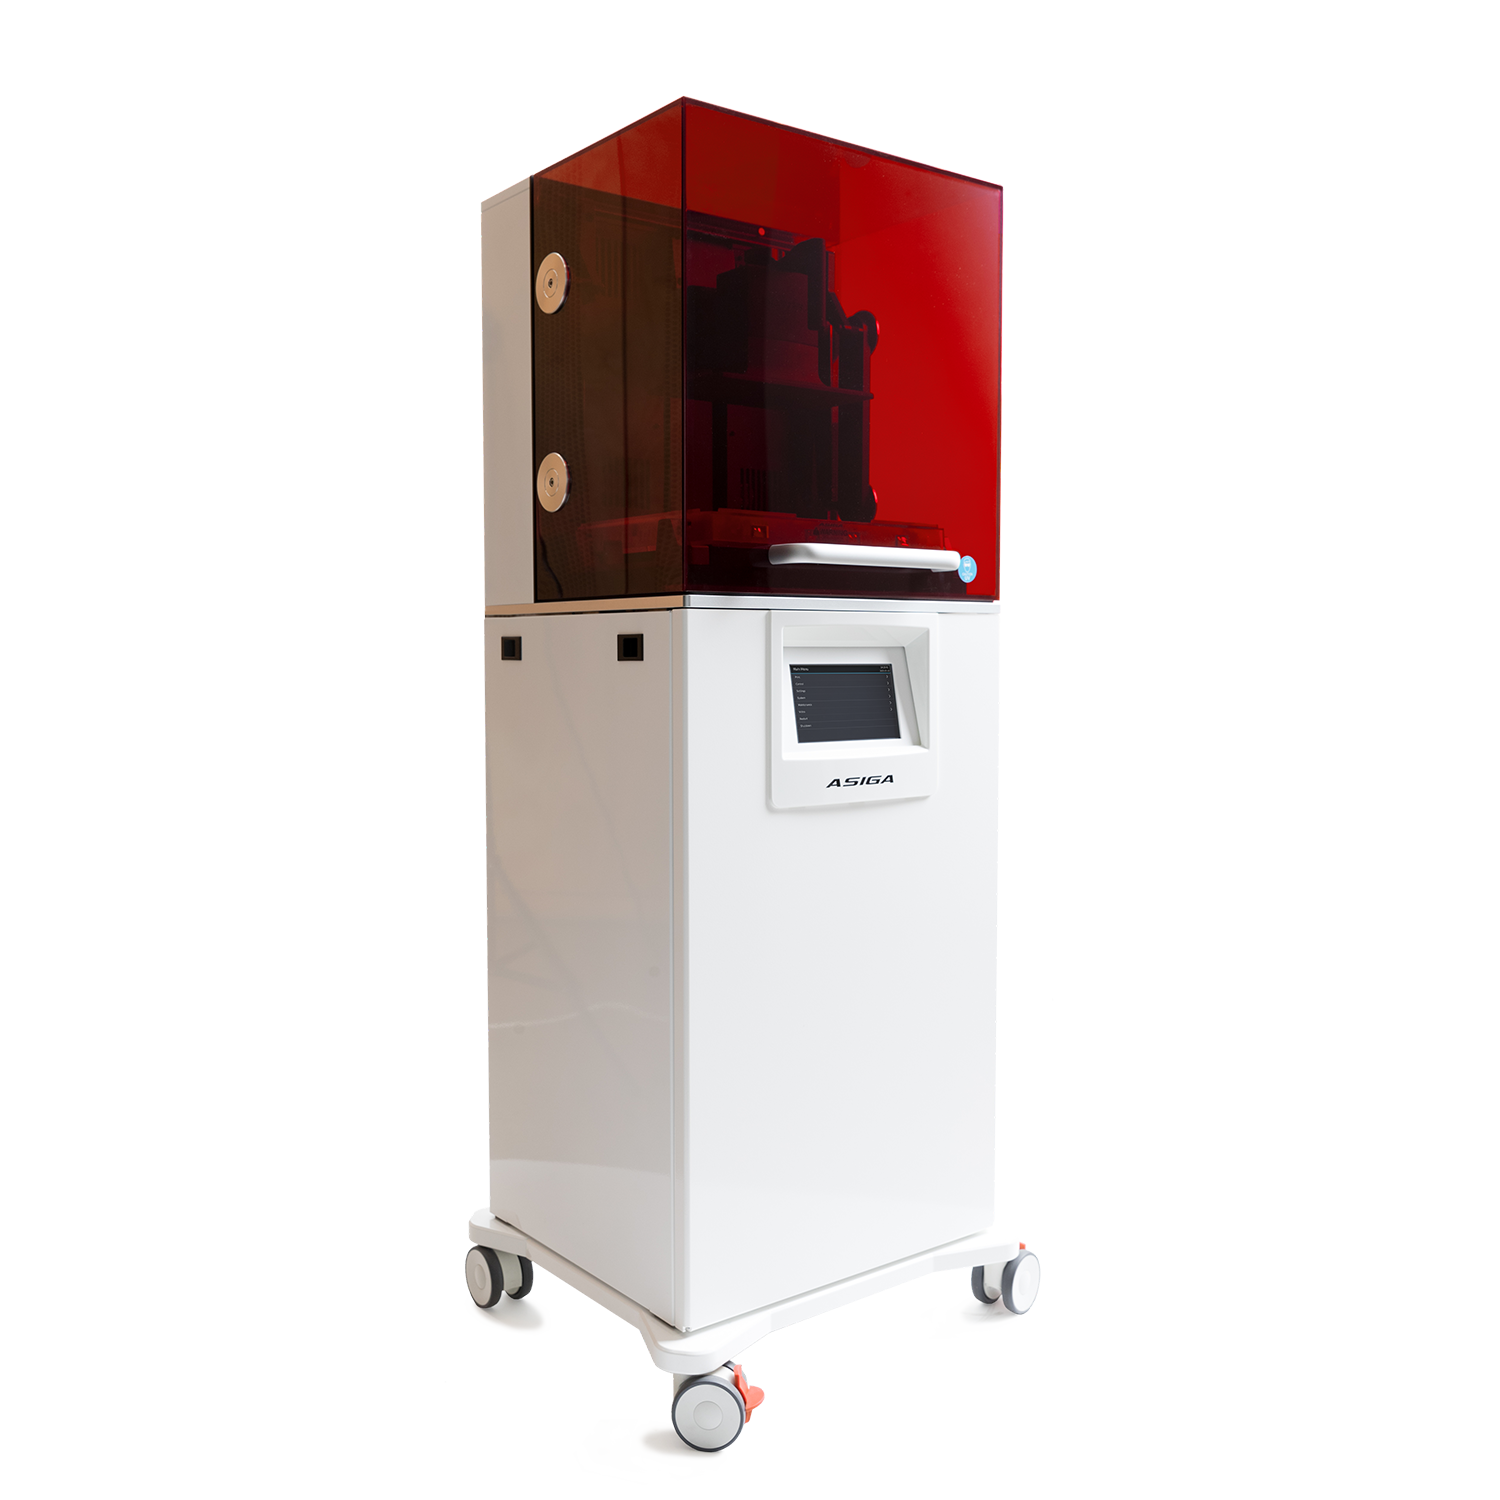
At first, we didn’t care whether a printer that we used was an open source one or not, but one day, we came across a post on the Dental Lab Network forum, explaining the differences between open and closed systems. After reviewing the discussion between contributors, it became apparent that an open system would be best for us. We were becoming aware of how much more digital work we would be doing, so the idea of having material accessibility and flexibility was very appealing. An open printer that accepts any material enabled us to research, then use the best materials for our practice’s applications. Another thing we were concerned about from speaking to other 3D printer owners is the time it takes to change materials. Some systems require a laborious cleaning process before you can use another material. That would be a problem for us. Taking the above considerations into account, we found the printer that seemed to fit our needs. It was the Asiga Pro2. It is sold by Whip Mix.
An important aspect of integrating technological equipment and digital software seamlessly is to have someone in the lab capable of understanding the use and programming and is fairly tech savvy. In our place, it’s me, a dental technician. Since I’m “good with computers”, I manage just fine.
Cory Lambertson, one of the technical support people at Whip Mix, and I figure out any issues we have going on. I would say it is important to at least have someone who can do an initial diagnosis of a problem to help in communicating with technical support personnel. This someone has to have at least a rudimentary knowledge of how 3D printers work so the parts can be supported correctly and not fail. Who in your lab is the right person? The actual learning process is easy. The software is easy and intuitive enough that just about anyone can learn to use the printer.
- Capacity – Having an Asiga Pro 2 printer in-house means not having to wait for another lab to print all of the parts we need. This helps us greatly. Being able to print a guide overnight and be ready to use the next morning is also great.
- Cost – Cost is relative. For us, the benefits of having the larger unit far outweighs the cost. At first we did not think that we would use it as much as we have been. Now we are grateful that we purchased the larger Pro 2 Asiga unit.
Our material/use costs are pretty low, too.
- Ortho models cost about $10 per arch.
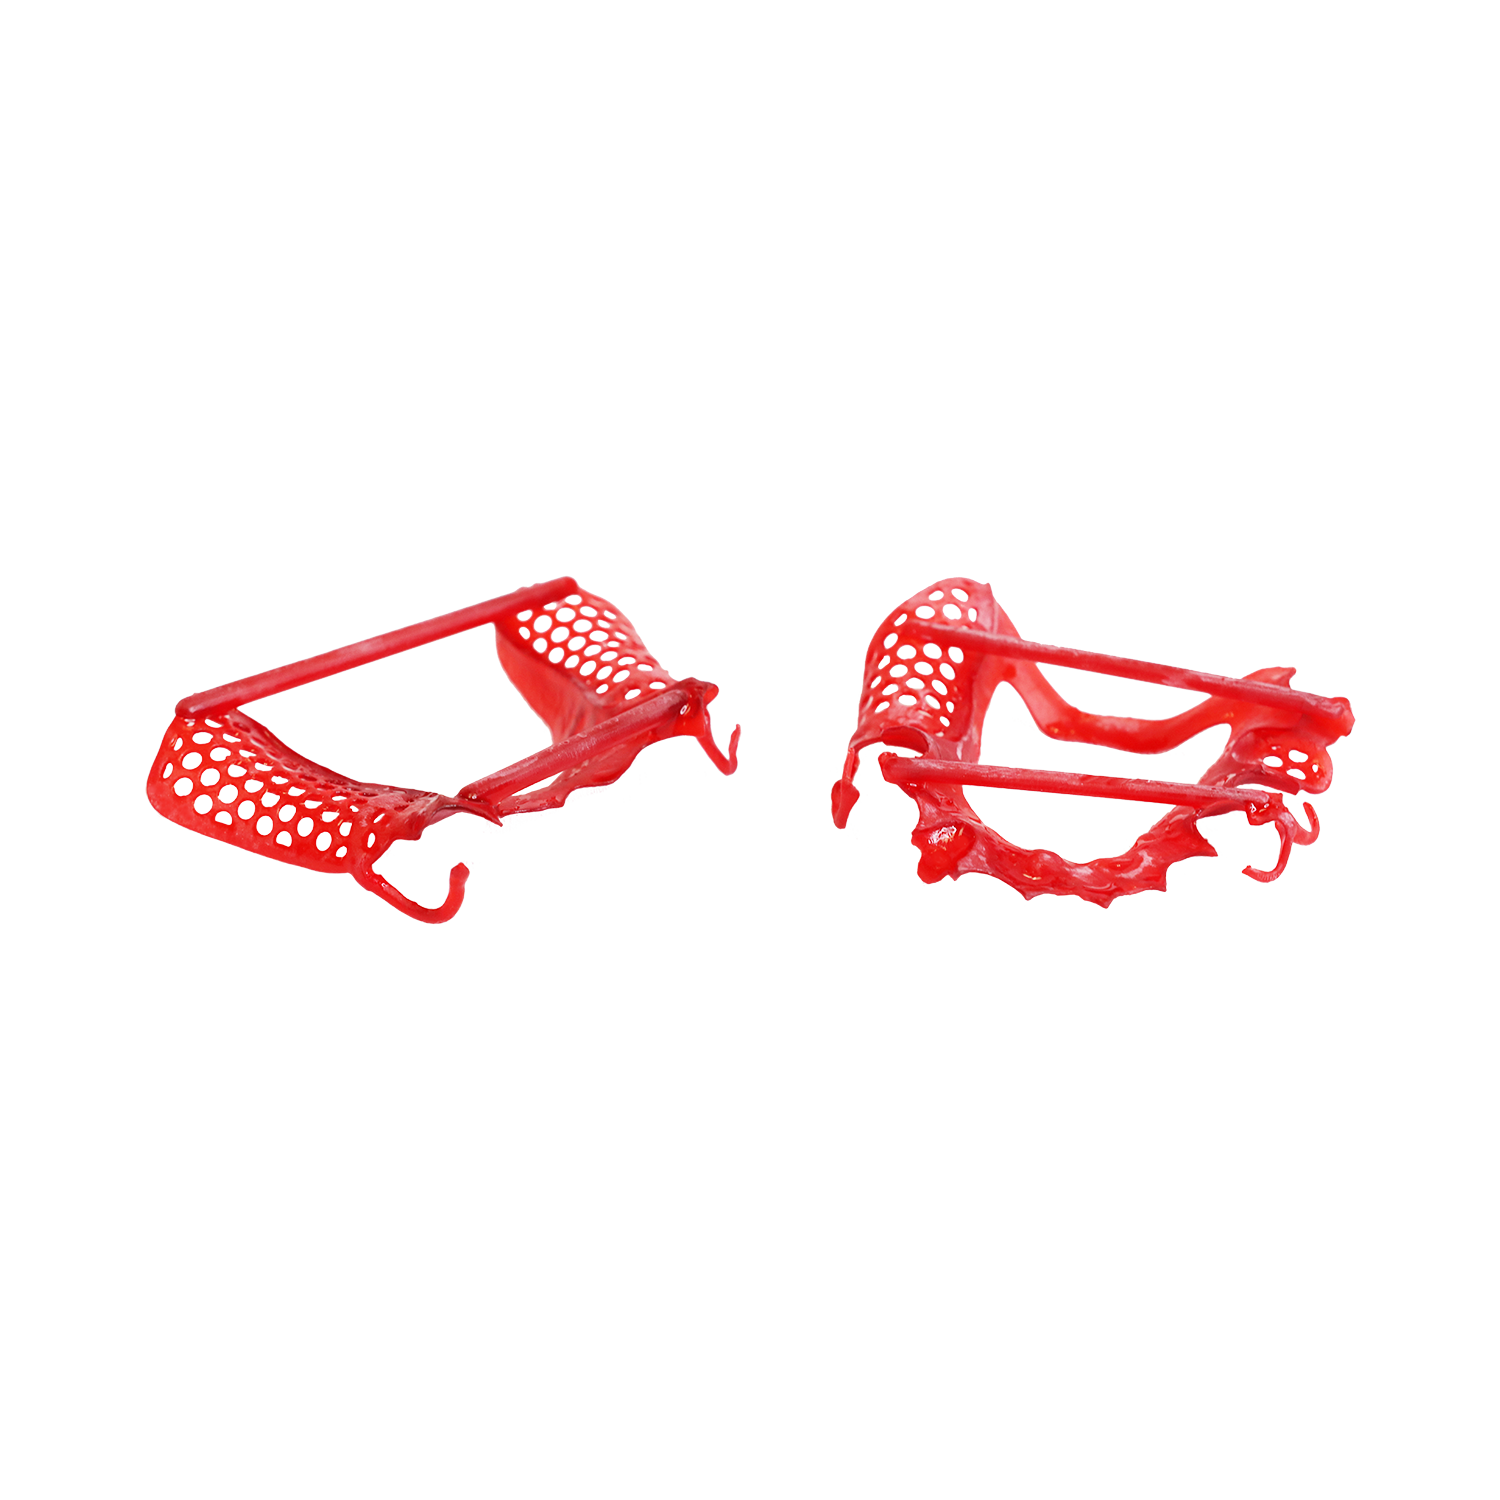
- Surgical guides only cost us between $2 - $5, depending on the size and complexity.
- Ortho splints approximately $3. Considering the low cost, I usually print 2 splints per case, so that if we somehow break one, we have a backup during surgery.
Our Future with 3D Printing
All in all, the process of researching, purchasing and training on the Asiga printer was a painless one. Its usefulness in our day-to-day work has passed even our wildest expectations. It has been a very good experience and we expect to use it with present and future materials and applications for a long time to come. We would recommend it to any laboratory.


.jpg)
Leave a comment