


In order to use as much resin in the bottle as possible, we have created adaptors that you can print yourself! They are specifically for Asiga Pro trays. The simple device allows the resin in Whip Mix bottles to fully drain into the tray. We estimate that the adaptor can save up to fifty grams of resin per bottle, letting you get the most out of your purchase.
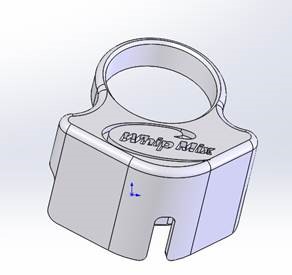
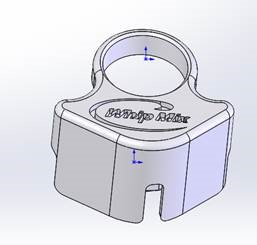
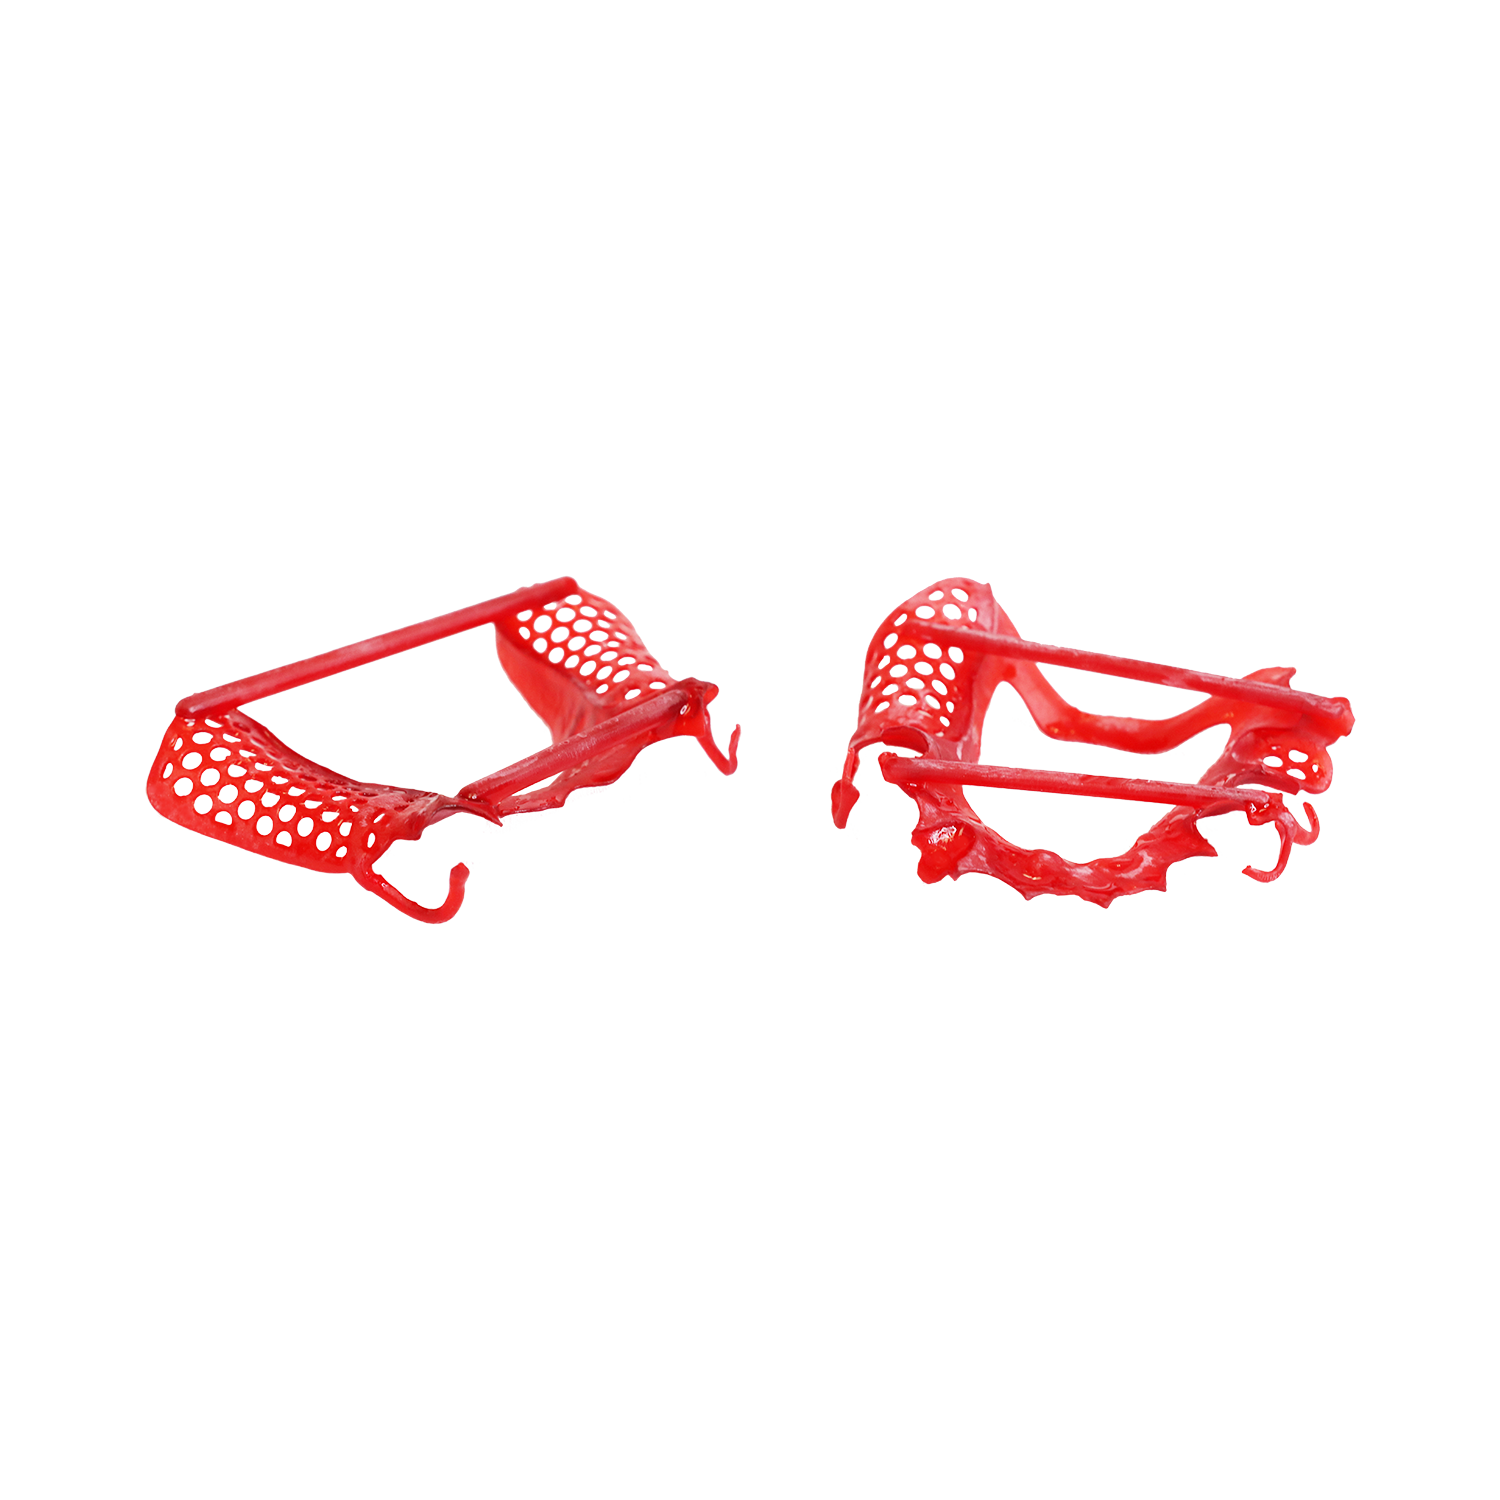
To the left, an adaptor for metal Whip Mix bottles; on the right, an adaptor for plastic WhipMix bottles.
Instructions for printing the adapters are given below:
- Download the appropriate .stl file:
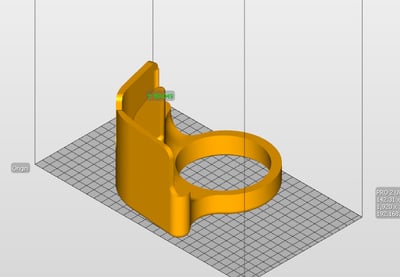
- Place the part with the Whip Mix logo facing downwards on the build platform, and print the adaptor at 150 micron layers out of the same material you are trying to conserve.
- Post process the adaptor as normal.
- Place the adaptor on the front left corner or the front right corner of the Asiga Pro trays to avoid contact with the build plate head.
- Wait until you have a bottle of resin that is nearly empty, turn upside down, and place the neck of the bottle inside the hole on the adaptor.
- Allow the bottle to drain while the Asiga Pro prints.
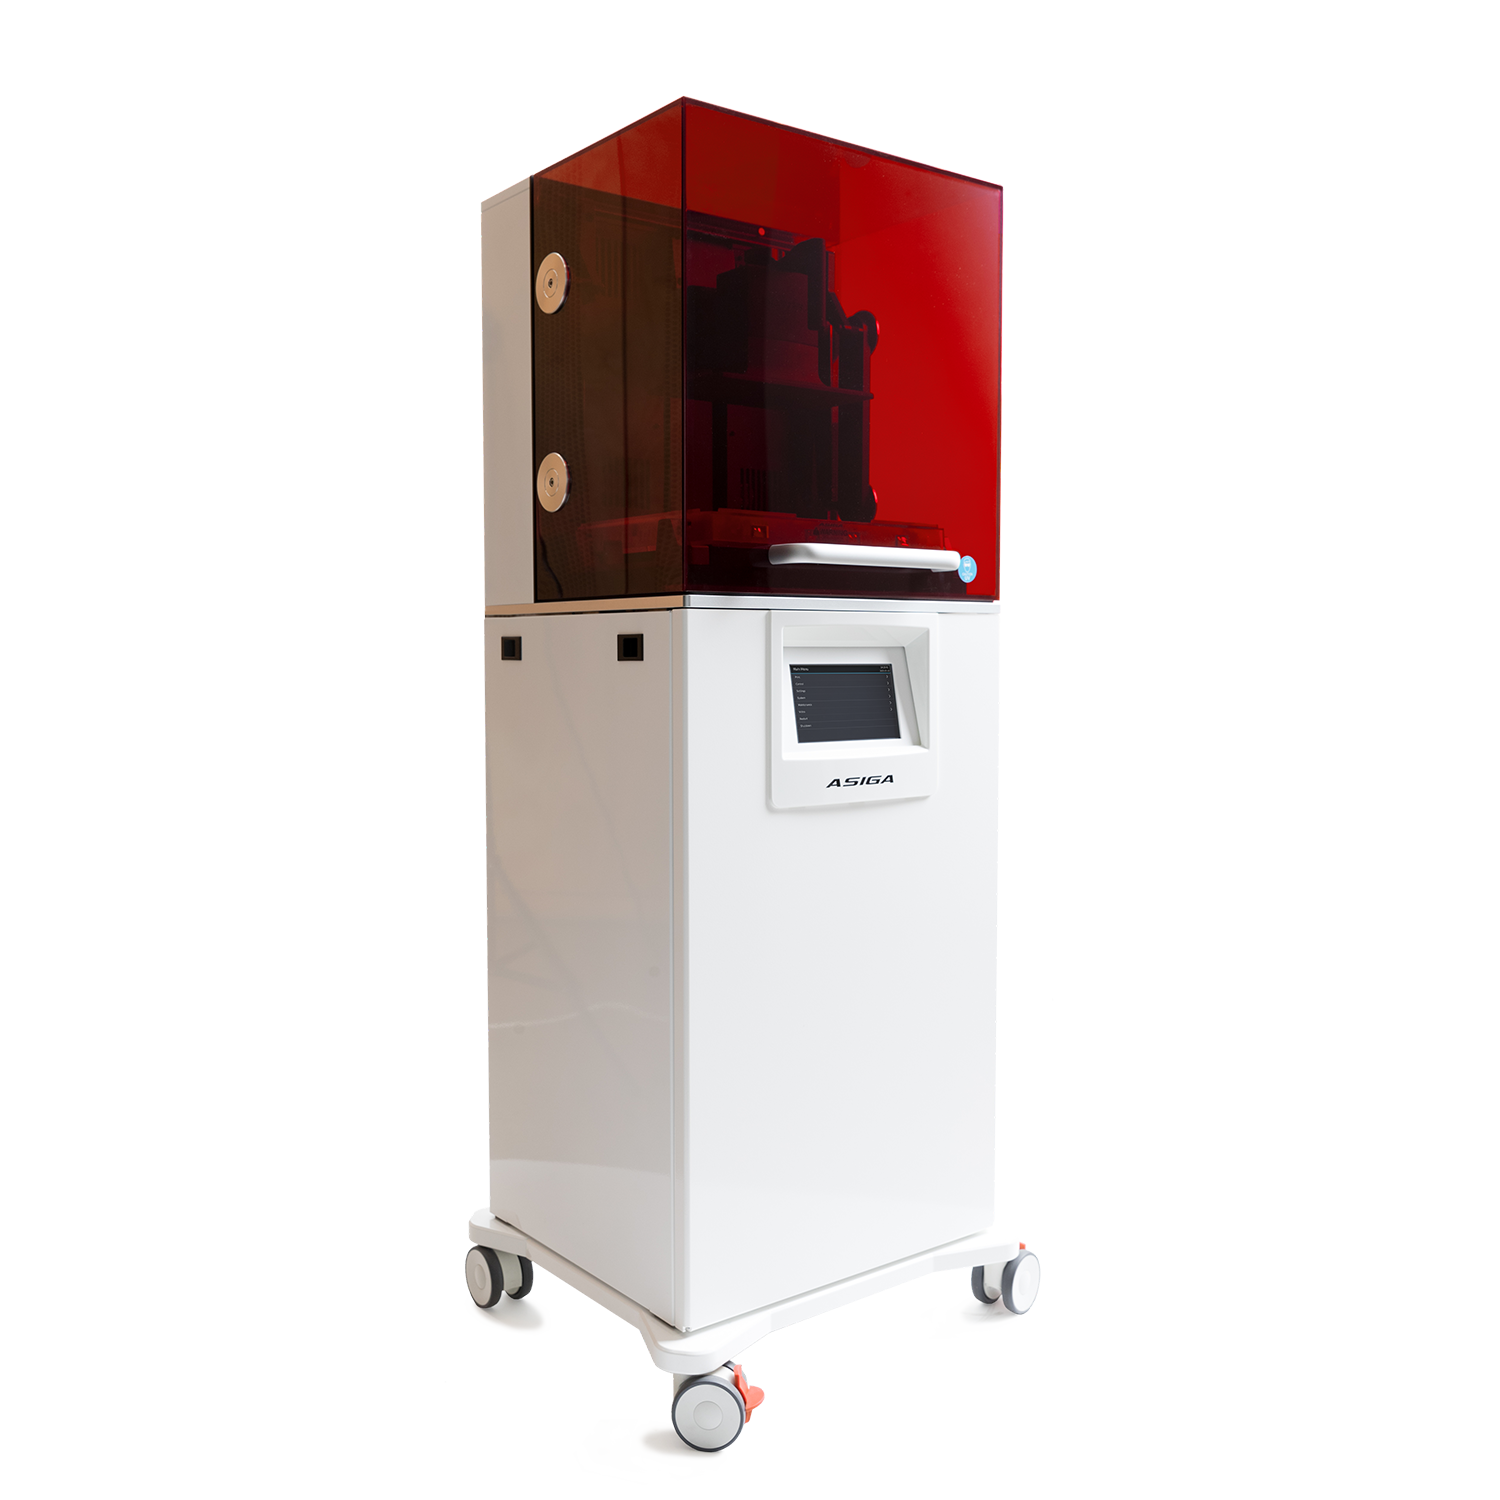
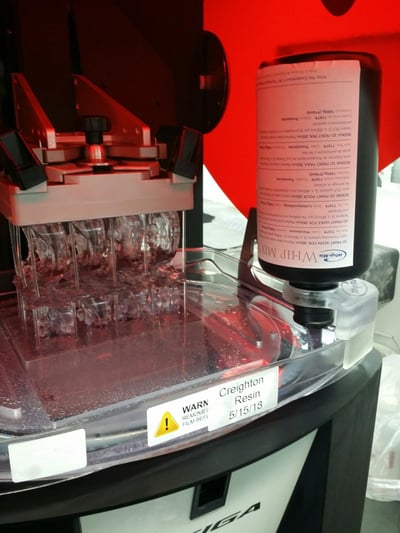 Pictured above is the plastic bottle adaptor. The hood of the printer can be closed while the bottle is draining but was left open for photo clarity.
The adaptors take approximately 70 mL of resin to make, which translates to approximately 80 grams of material, meaning the adaptor should start to pay for itself after just the second bottle of resin.


.jpg)

Leave a comment