


Calibration is the result of comparing something to a known standard, then bringing the item into sync with the standard.
Periodically, or when conditions change, we do this with porcelain furnaces and we should do it with burn-out ovens as well. Today, we calibrate our milling machines and 3D printers.
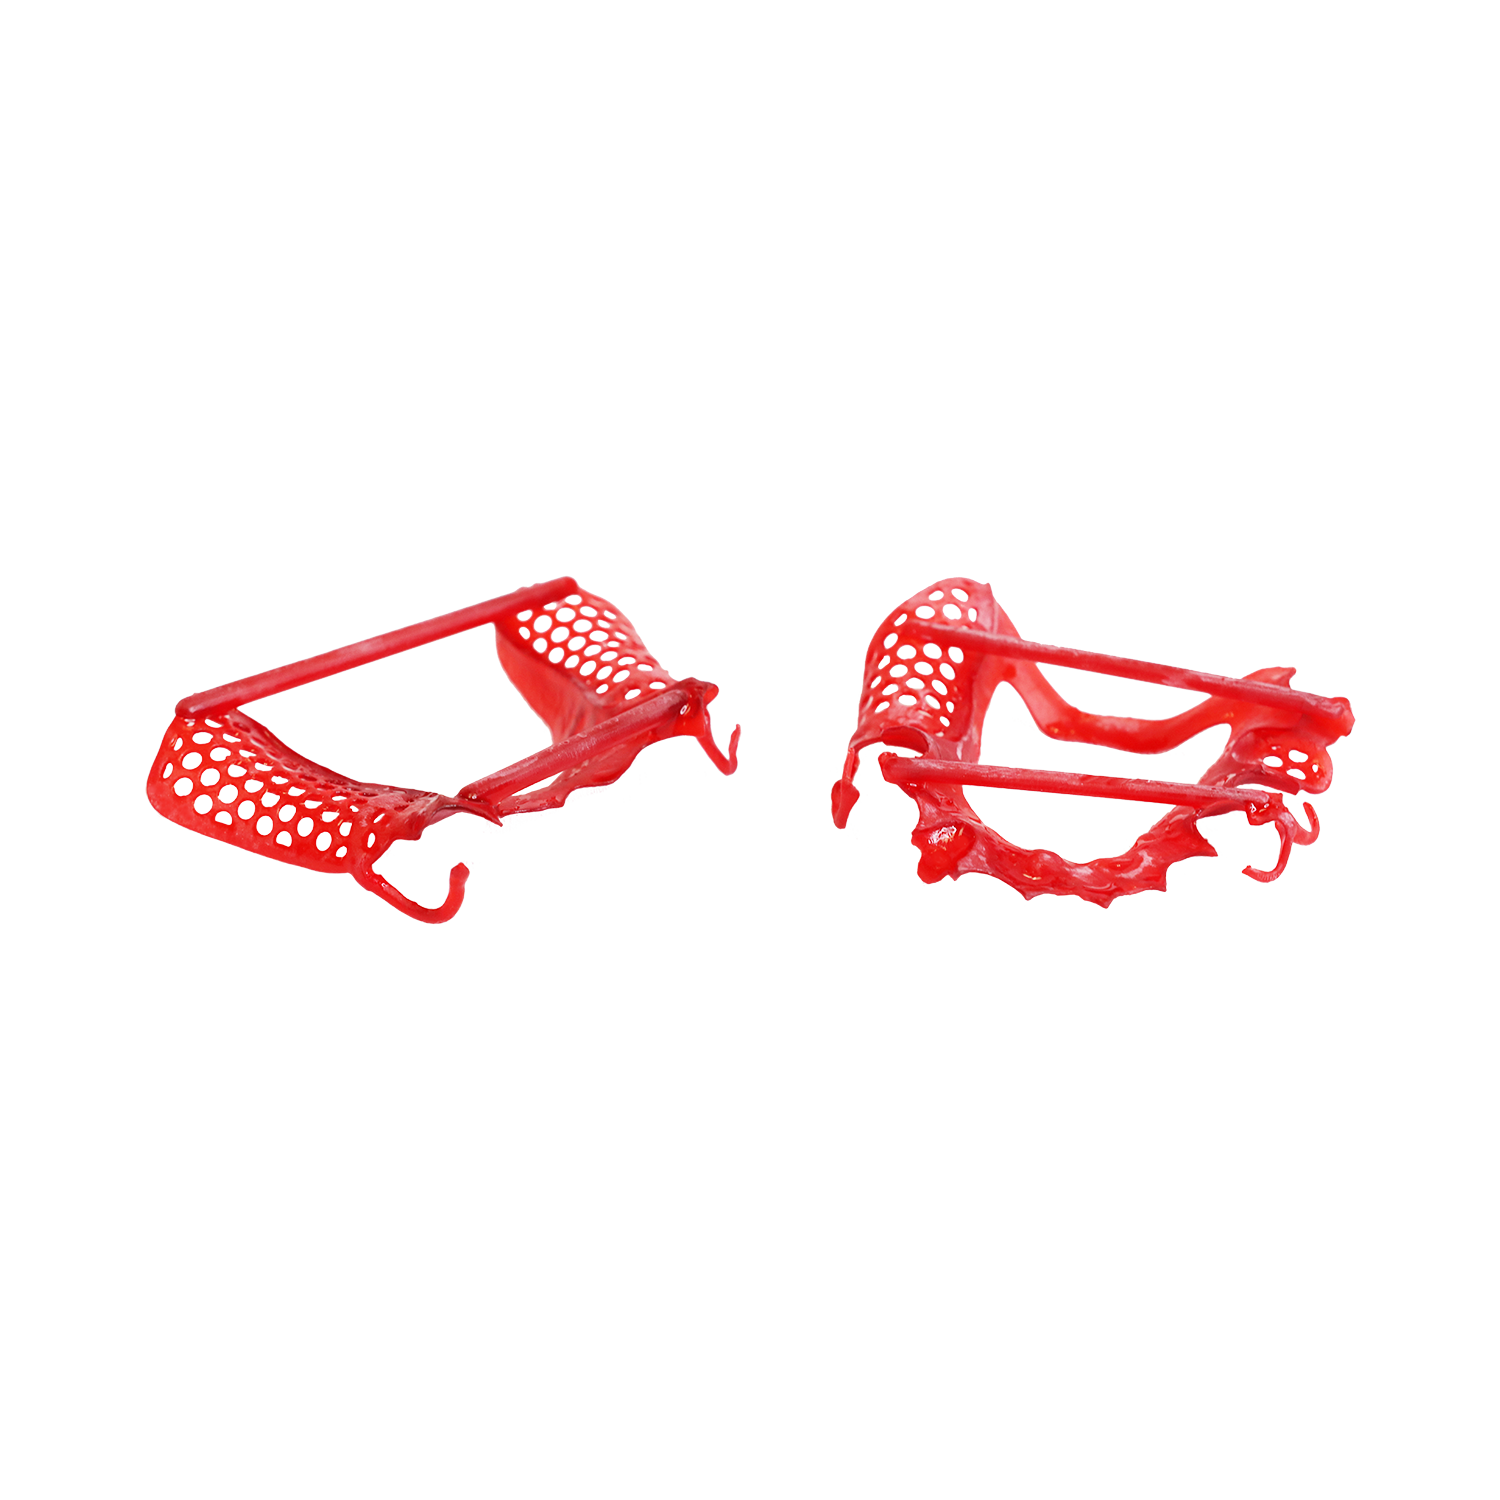
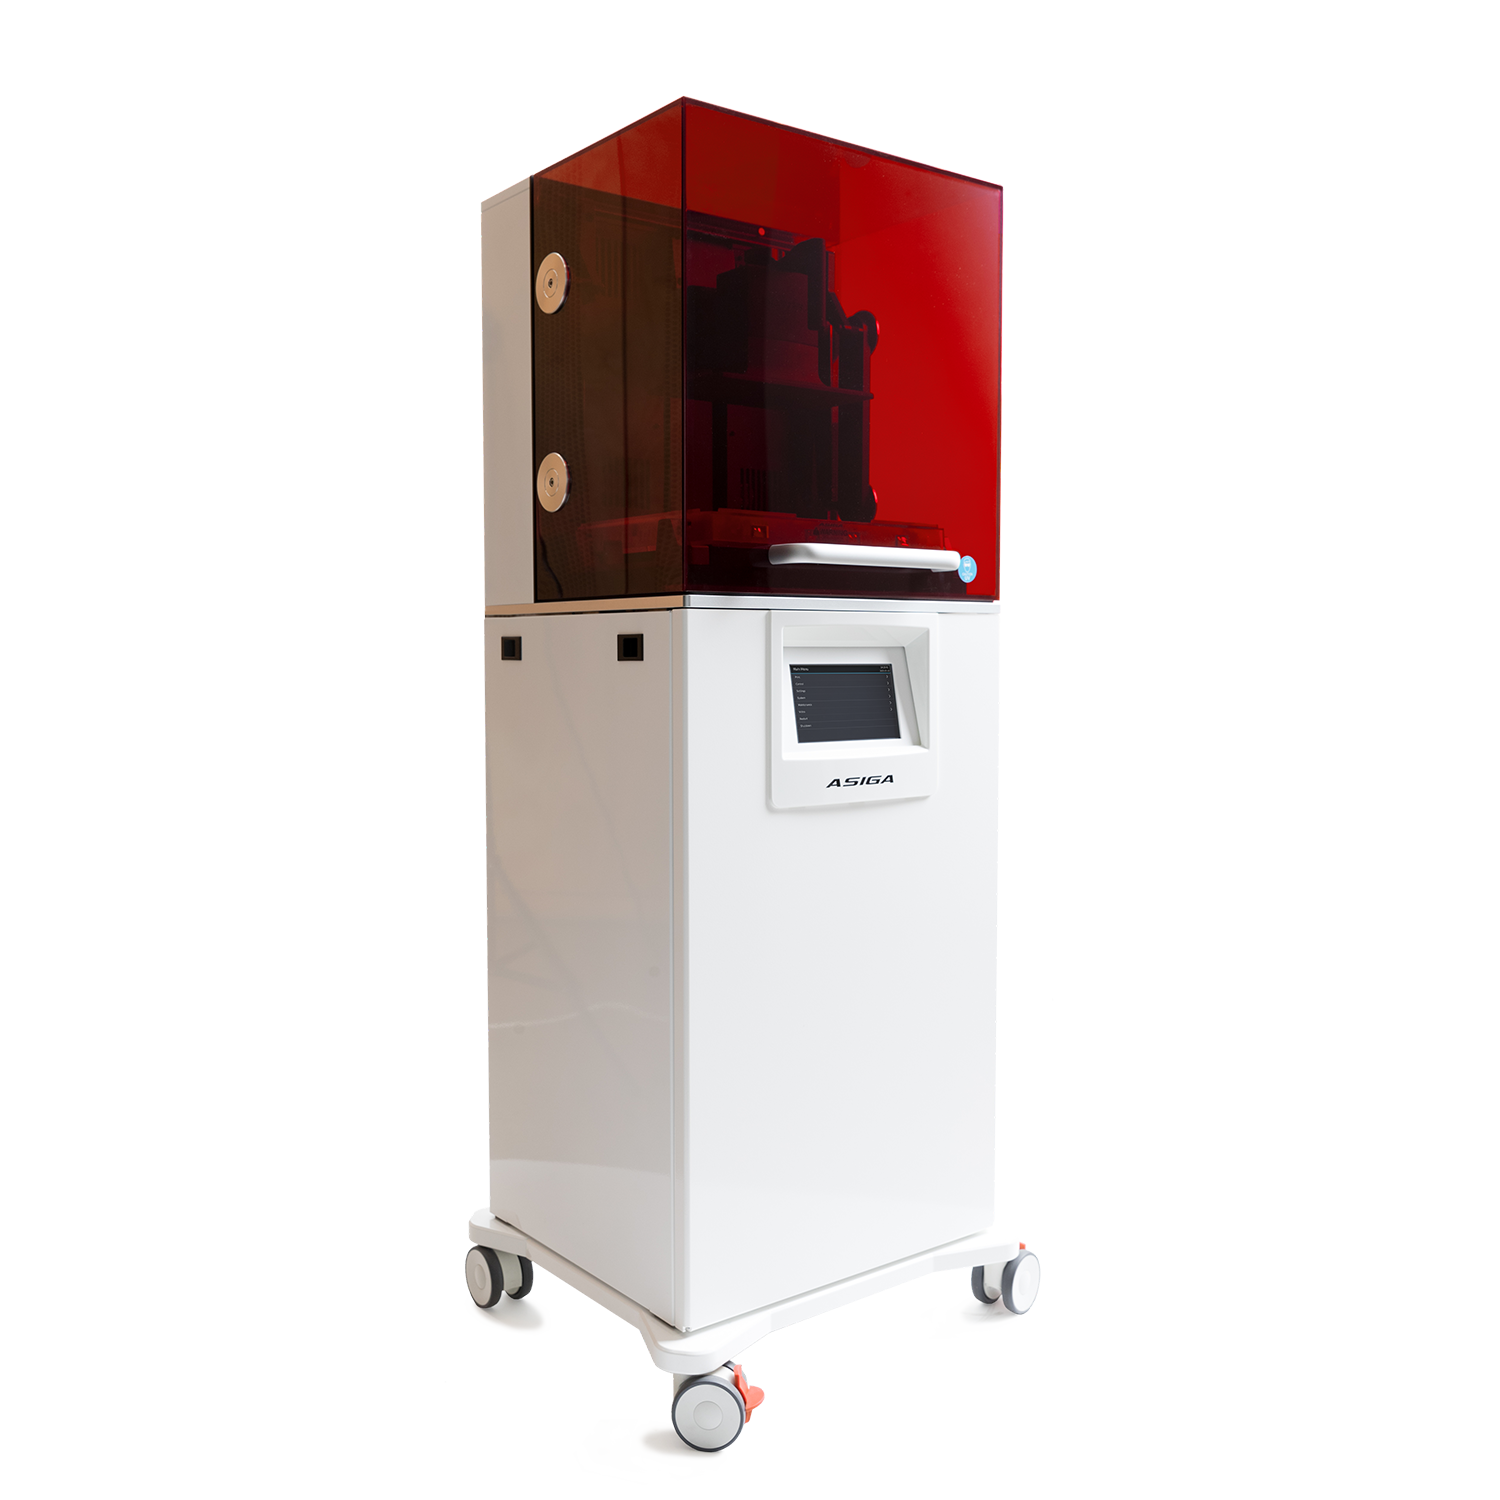
One of our laboratory customers, with an Asiga 3D printer, decided to rearrange some equipment in the lab. This included moving the printer a total of only two (2) feet on the same counter. Toward the end of the day , they had a print job to do and sent the .stl file to the printer. Part way into the print, the printer displayed an error message: ‘Approach Failed, Target not Reached in 60 Seconds’.
Now, if we were in an aircraft and heard that over the intercom we might be terrified, but with a 3D printer, we just need to go back and do something we should do with all dental laboratory equipment , re-calibrate.
The printer tracks its position as the build plate drops into the resin. If that position is off, it cannot tell the position of the next layer thickness in the ‘Z’ axis and it cannot continue. Moving the printer, even a couple of feet can change that critical position.
So…If you relocate, you must recalibrate. Corey Lambertson, Technical Support Representative, recently did a quick video on how to re-calibrate the Asiga Pro2, which you can watch below.
Still having trouble? Don't hesitate to give our tech support team a call at 1-502-637-1451. We will get you back up and flying.


.jpg)
Leave a comment