As your VPM2 vacuum mixer ages, parts of the unit can begin to fail and can cause vacuum loss. If the vacuum level falls too low, the unit will not mix and can even keep the bowl from being held in place. Just like any piece of equipment, parts will need replacing and service will be needed to keep the unit operational. Some part replacement is quite easy and some service needs to be left to a trained professional. One area that should be left to a repair expert is fixing the shaft seals in the block assembly, however, replacing them when they are worn can help restore the vacuum. This is how the replacement is done (for those willing to risk damage to the unit).
- Insert the retaining ring into the groove of the motor shaft hole in the block assembly.
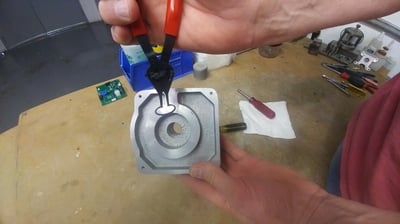
- Ensure the retaining ring is secure.
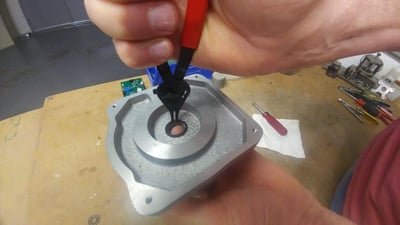
- Retaining ring in place.
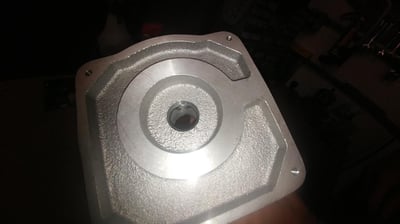
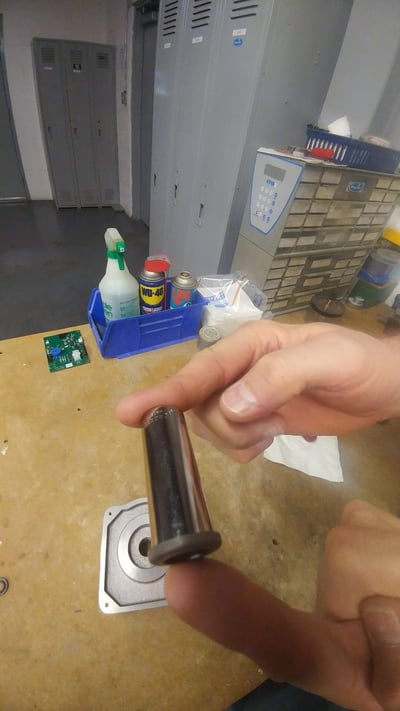
- Insert 1st shaft seal (groove up) using a 9/16” or metric equivalent to push the ring into place.
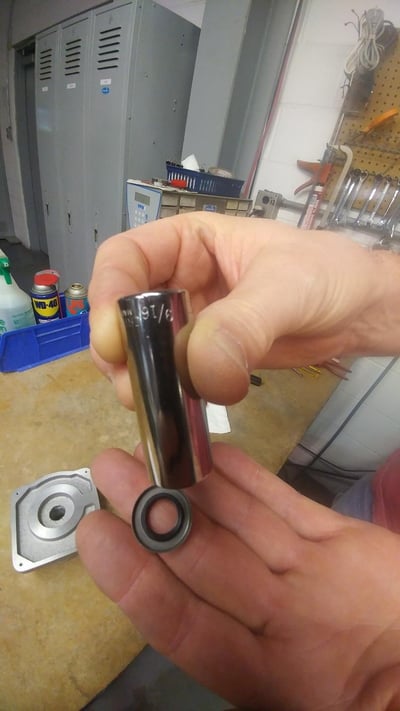
- Socket inserted into groove of shaft seal for placement.
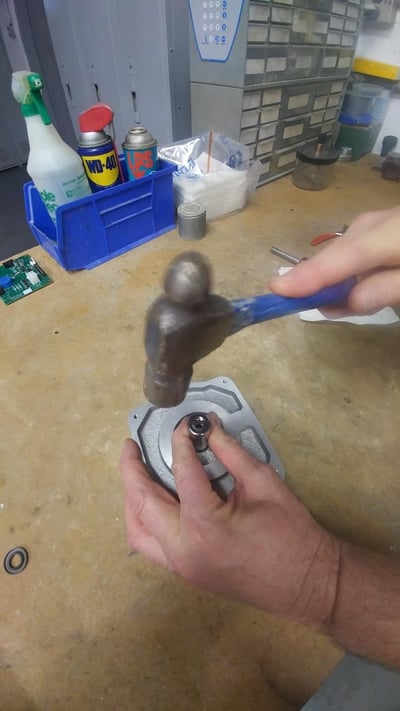
- Carefully tap the 1st seal into place until it is flush with retaining ring.
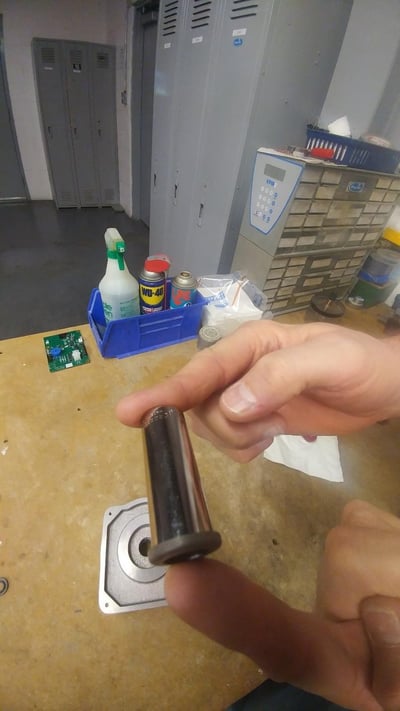
- Second retaining ring is inserted the same way as the 1st, with the groove also in the up position.
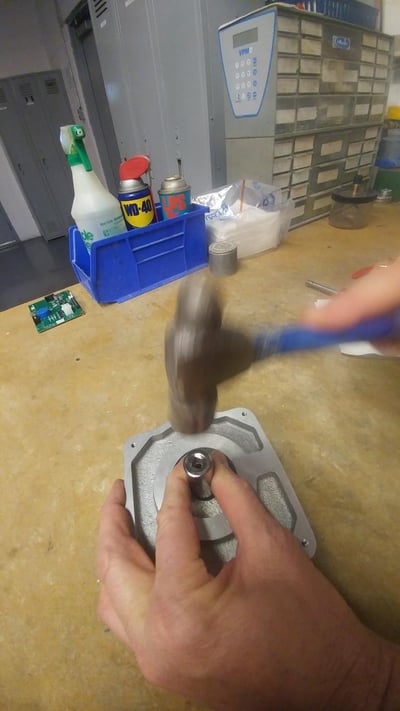
- Second retaining ring tapped into place.
9. Both shaft seals in place.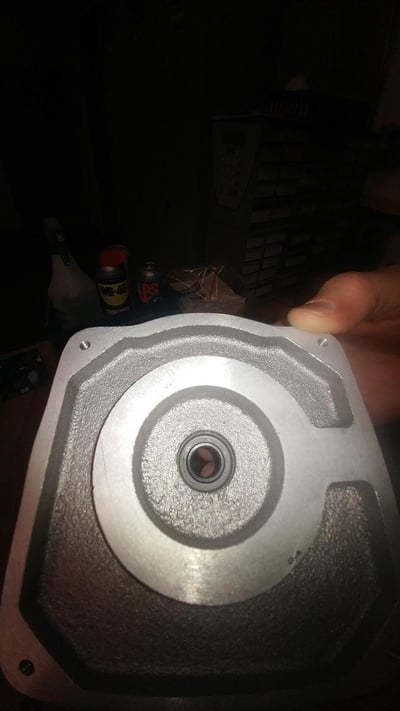
10. Retaining ring and both shaft seals in place as viewed from outside of block assembly.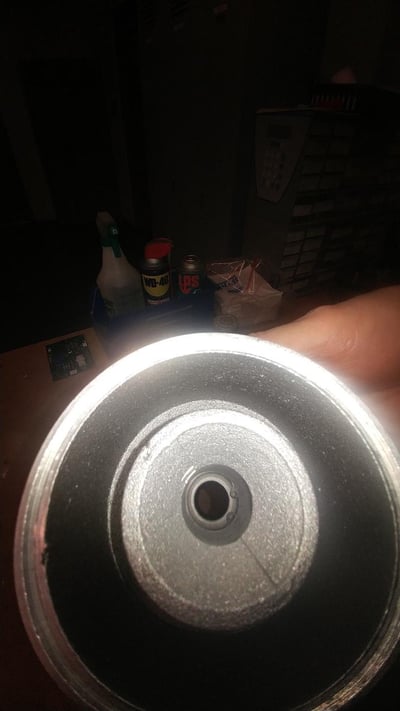
11. Applying Lubriplate to the opening of both shaft seals.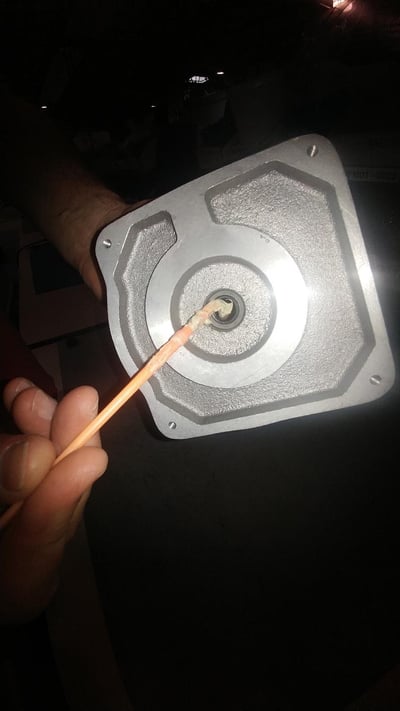
12. Lubriplate applied ready to receive motor shaft.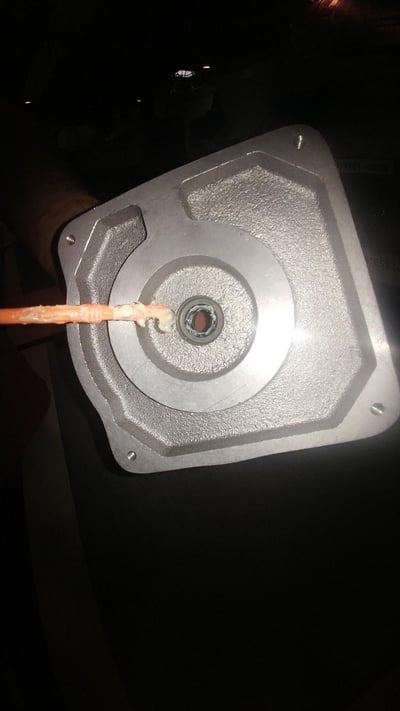
13. Block assembly in place with the main housing.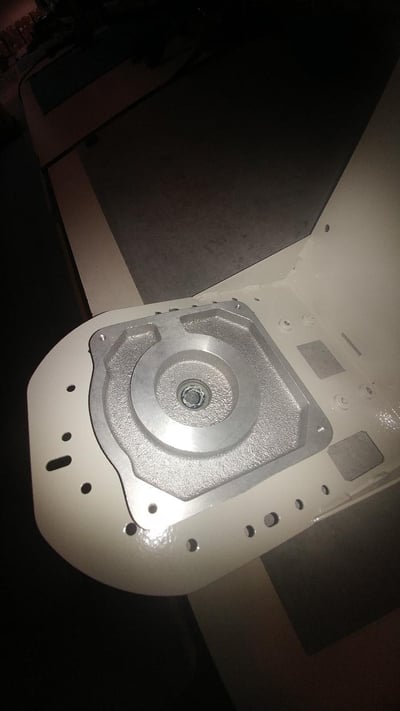
14. Take great care when inserting the motor shaft into the shaft seals and retaining ring. The seals can be easily damaged by drive chuck blade when inserting the motor if not done correctly. Try to insert shaft as straight as possible. Usually during this process, having someone help by carefully pushing the pump to the side will help with perpendicular insertion.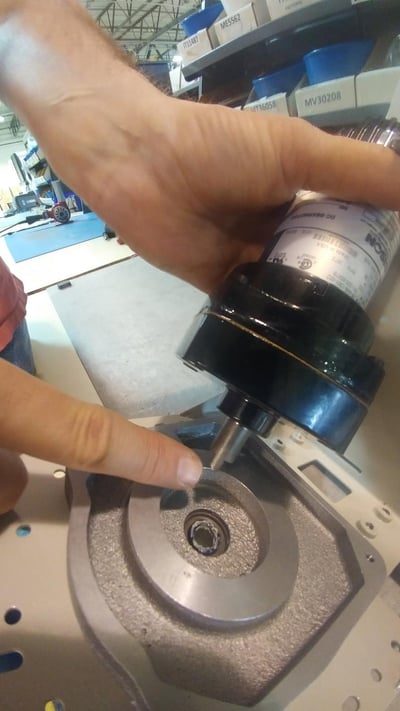
15. In our repair department they use a special brass tool to cover the sharp edges of the drive chuck. This does illustrate the need however that the shaft seals must not be damaged in this process. Damaged shaft seals can diminish or cause complete loss of vacuum. It is a good idea to have extra shaft seals on hand in case they are damaged in the installation process. You really only have one shot deal to get it right.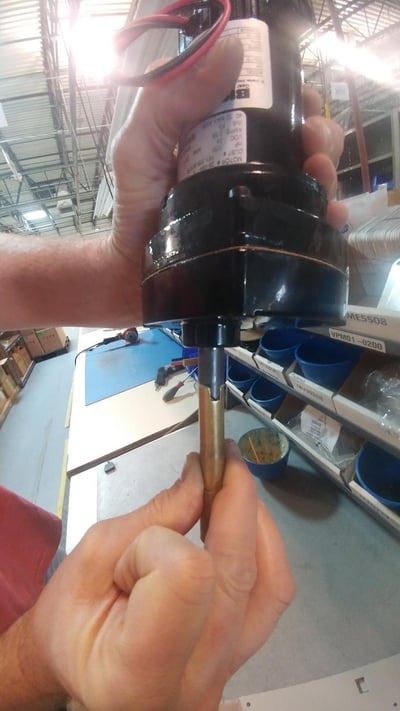


Leave a comment