


Model Trimmers are a staple of the dental laboratory. Although they are a work horse, they are often treated with disregard when it comes to daily maintenance. As they say in the horse world, “they (Model Trimmers) are rode hard and put away wet.”
In order for anyone to get the most out of their Model Trimmer, it must be well taken care of. I’ve taken the liberty of putting together some helpful, and SIMPLE, tips for caring for your Model Trimmer:
1. Dental Professionals must understand that Gypsum grinding waste is much like sediment in a river. It builds up where the movement of the water slows down. Let enough of this build up happen, and you block the egress flow or affect the function of the machine.
2. After periods of grinding, the machine should be left running with the water flowing to help clean both the face of the grinding wheel and the internal workings of the machine, along with the run-off hose. If your unit has the spray attachment, use this to help flush sediment off the wheel and other surfaces of the machine. Failure to do this on a regular basis will result in buildup of gypsum sludge on the surface of the grinding wheel and the internal parts of the machine.

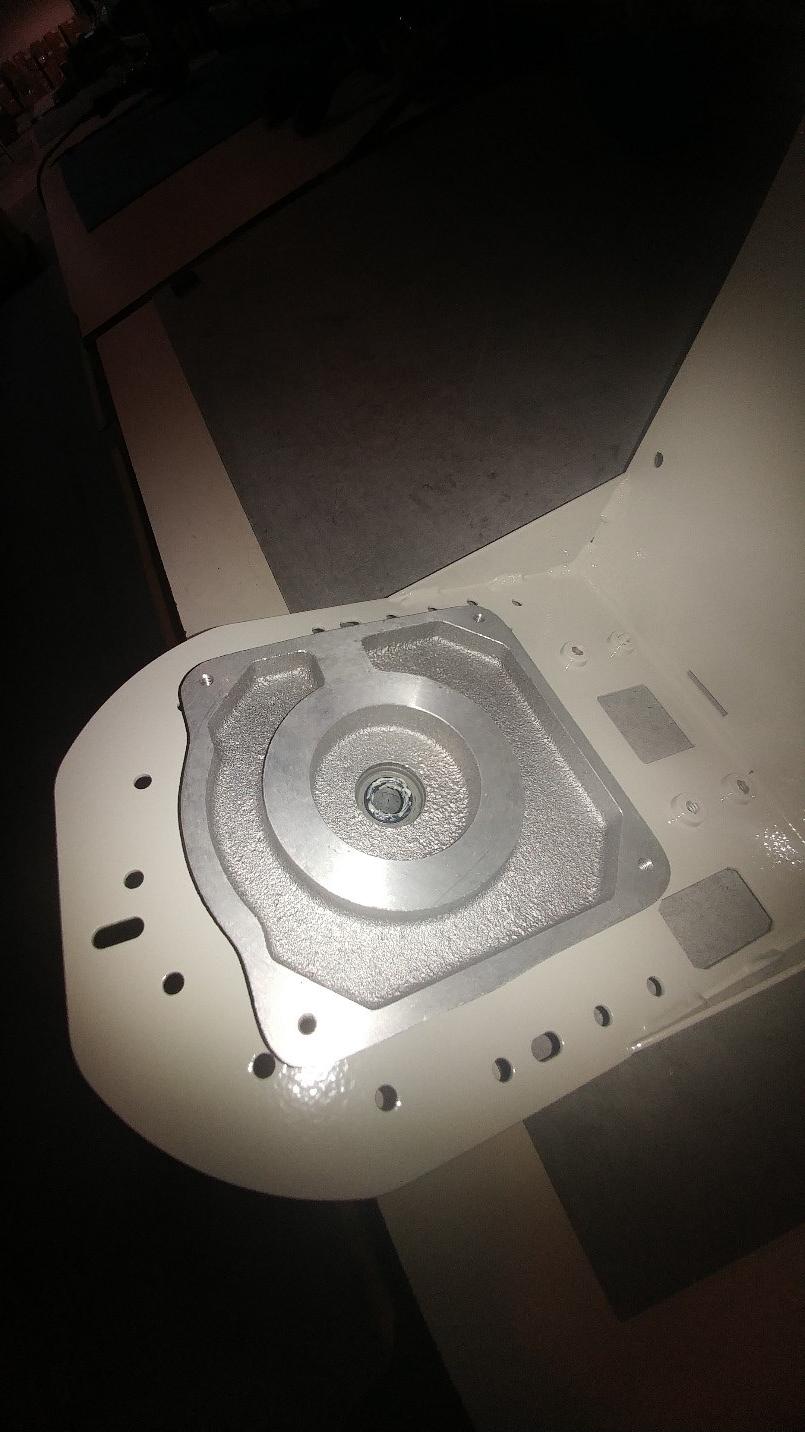
3. Depending upon the frequency of use; you will need to check the buildup of gypsum sediment on the reverse side of the backing plate. This plate should not be detached from the machine, as the plate and the hub are spin balanced together. Removal of the plate may cause the machine to wobble.
NOTE: Unplug the machine from the electrical connection. Remove the grinding disc from the backing plate. You will need a thin flat instrument.
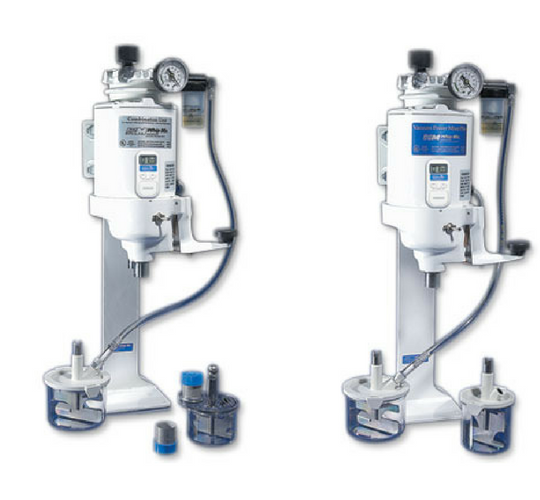
If you have a ¾ HP machine (square face), reach the instrument in from the right side of the machine and hold against the back side of the backing plate. Slowly rotate the backing plate with your hand and scrape any gypsum build up from the plate. Clean any build up from the inside of the machine using a solution of water and detergent (Simple Green works well). Check the drain hole for obstructions. Re-attach the grinding wheel, close the machine face, plug the machine in and then turn on and run for at least one (1) minute to flush the machine.
If you have a ½ or 1/3 HP machine, remove the yellow plug on the left side of the machine. With a long flat instrument, reach into the hole and remove the buildup of gypsum in the trough, making sure that the exit hole (inside on the left) is clear. On your right, you can see the rear side of the backing plate; hold the flat instrument against the backing plate. Open the door of the machine and slowly rotate the grinding wheel with your hand. This will knock off any build up from the wheel. Close the door and replace the yellow plug. Turn on the machine and the water to the machine and let run for at least one (1) minute to flush the machine.
4. Wipe down the exterior of the machines with a terrycloth towel and mild detergent solution. Do not spray down the machines with water as this can get into to electrical of the motor.


Leave a comment