

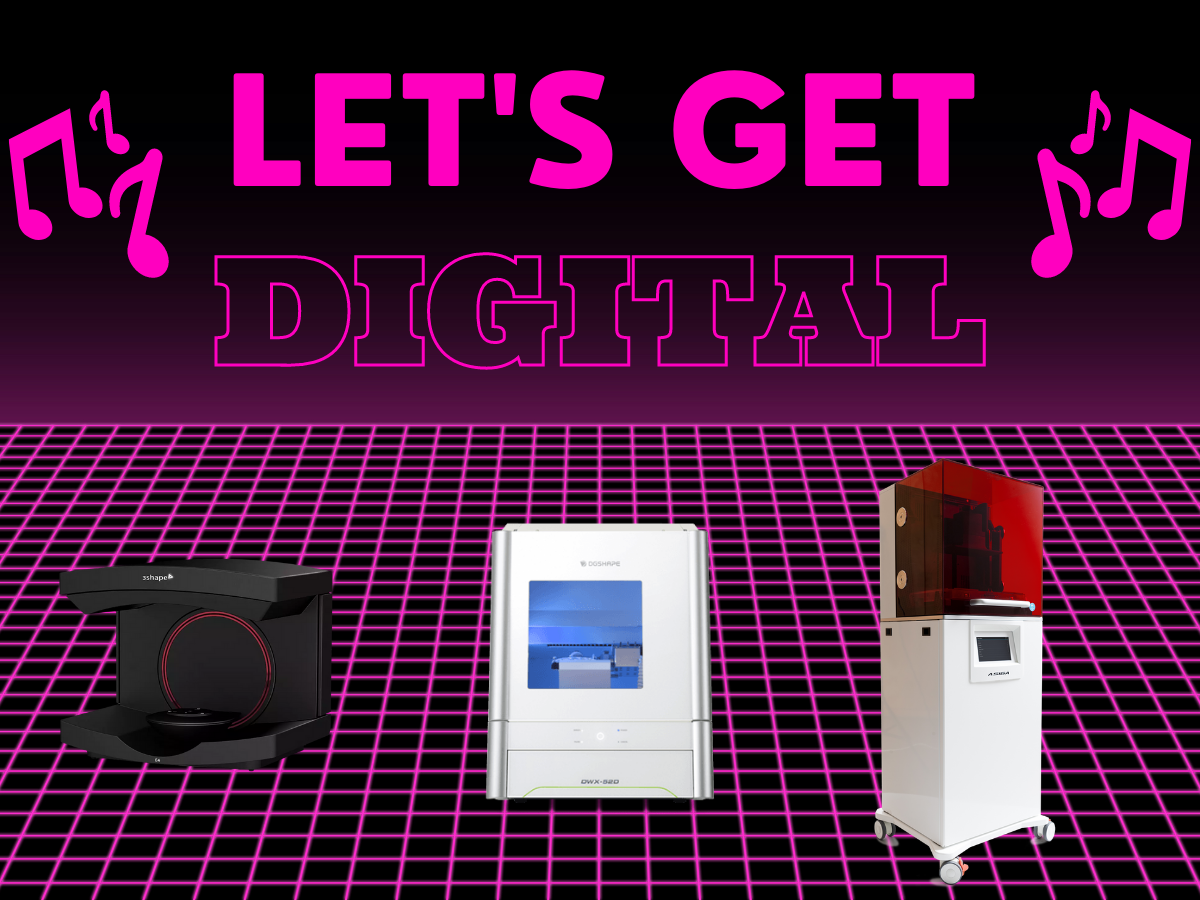
 Most dental labs are considering adding 3D printing to their manufacturing technologies to accommodate their client's move to intraoral scanning. It usually starts with the need for printed models and then grows to include faster, more accurate ways to make burnout patterns for crown and bridge or removable partial denture frameworks, or custom trays and surgical drill guides.
We asked several laboratory-customers to tell us why they decided it was time to research this fast-growing technology and start producing 3D printed objects. In addition - and what is almost more important - how they incorporated printing into their workflow. As a progressive business, Artistic Dental Lab., in Bolingbrook, IL, shared their story with us and this is it: why they decided to enter the 3D printing world and how they did it.
Our CAD/CAM History
Artistic Dental Laboratory has always had pride in being a progressive laboratory since its inception in 1981. From the Procera Mod50 to 3Shape’s D2000, our CAD/CAM Department has grown to be the highest volume department in the laboratory and the most fluid department when it comes to change. We started dealing with Intraoral Scans (IOS), as many labs did, by accepting Cerec scans from doctors who did not want to, or could not, mill the materials they needed in their office. That's when the need for a 3D printed model first arose. At that time we had such a low volume, and the technology to print these models was so costly, we were fine with outsourcing the models. It was costly, and the service was lackluster, but it got the job done.
As new IOS systems emerged, more doctors were sending in digital impressions. Artistic Dental Laboratories had long foreseen IOS technology as a possible disruptor in the dental field and we were eager to adopt this digital technology into our workflow. After all, at the lab, we had been using 3D scanners in the CAD/CAM Department for over 7 years.
For us, the shift came in 2016. Prior to that we were getting about 10-15 IOS cases a month. In December of 2016, we saw that number jump to over 70 a month. At that time, it was mostly Cerec and iTero cases with a couple others mixed in. Then came the big wave in 2017. Trios had taken the market by storm. 3Shape was no longer just the big dog in laboratory scanning, it was primed to take over chairside scanning as well. Our IOS cases went from 70 per month to 10 per day in just a few short months.
Deciding to Purchase a 3D Printer
At that time, we were outsourcing our digital models. We knew that with the increased volume it would be more cost effective to produce the digital models in house. We never extend our ROI out more than 24 months. For a $25,000 equipment purchase we knew we needed to be outsourcing about 5 sets of models a day on average to justify the initial cost – in addition to the daily operating cost and supplies of the machine. Each machine is different so we researched different models. However, the biggest problem we ran into was that we had gained so much volume, so quickly, we no longer had much time to research and learn how to 3D print.
How We Decided
We had been researching printers for a while and had almost pulled the trigger on a couple - even going so far as having the finance form signed before we decided that we needed to take a look at some other printers that were coming to market. Enter Chris Frye and Whip Mix.
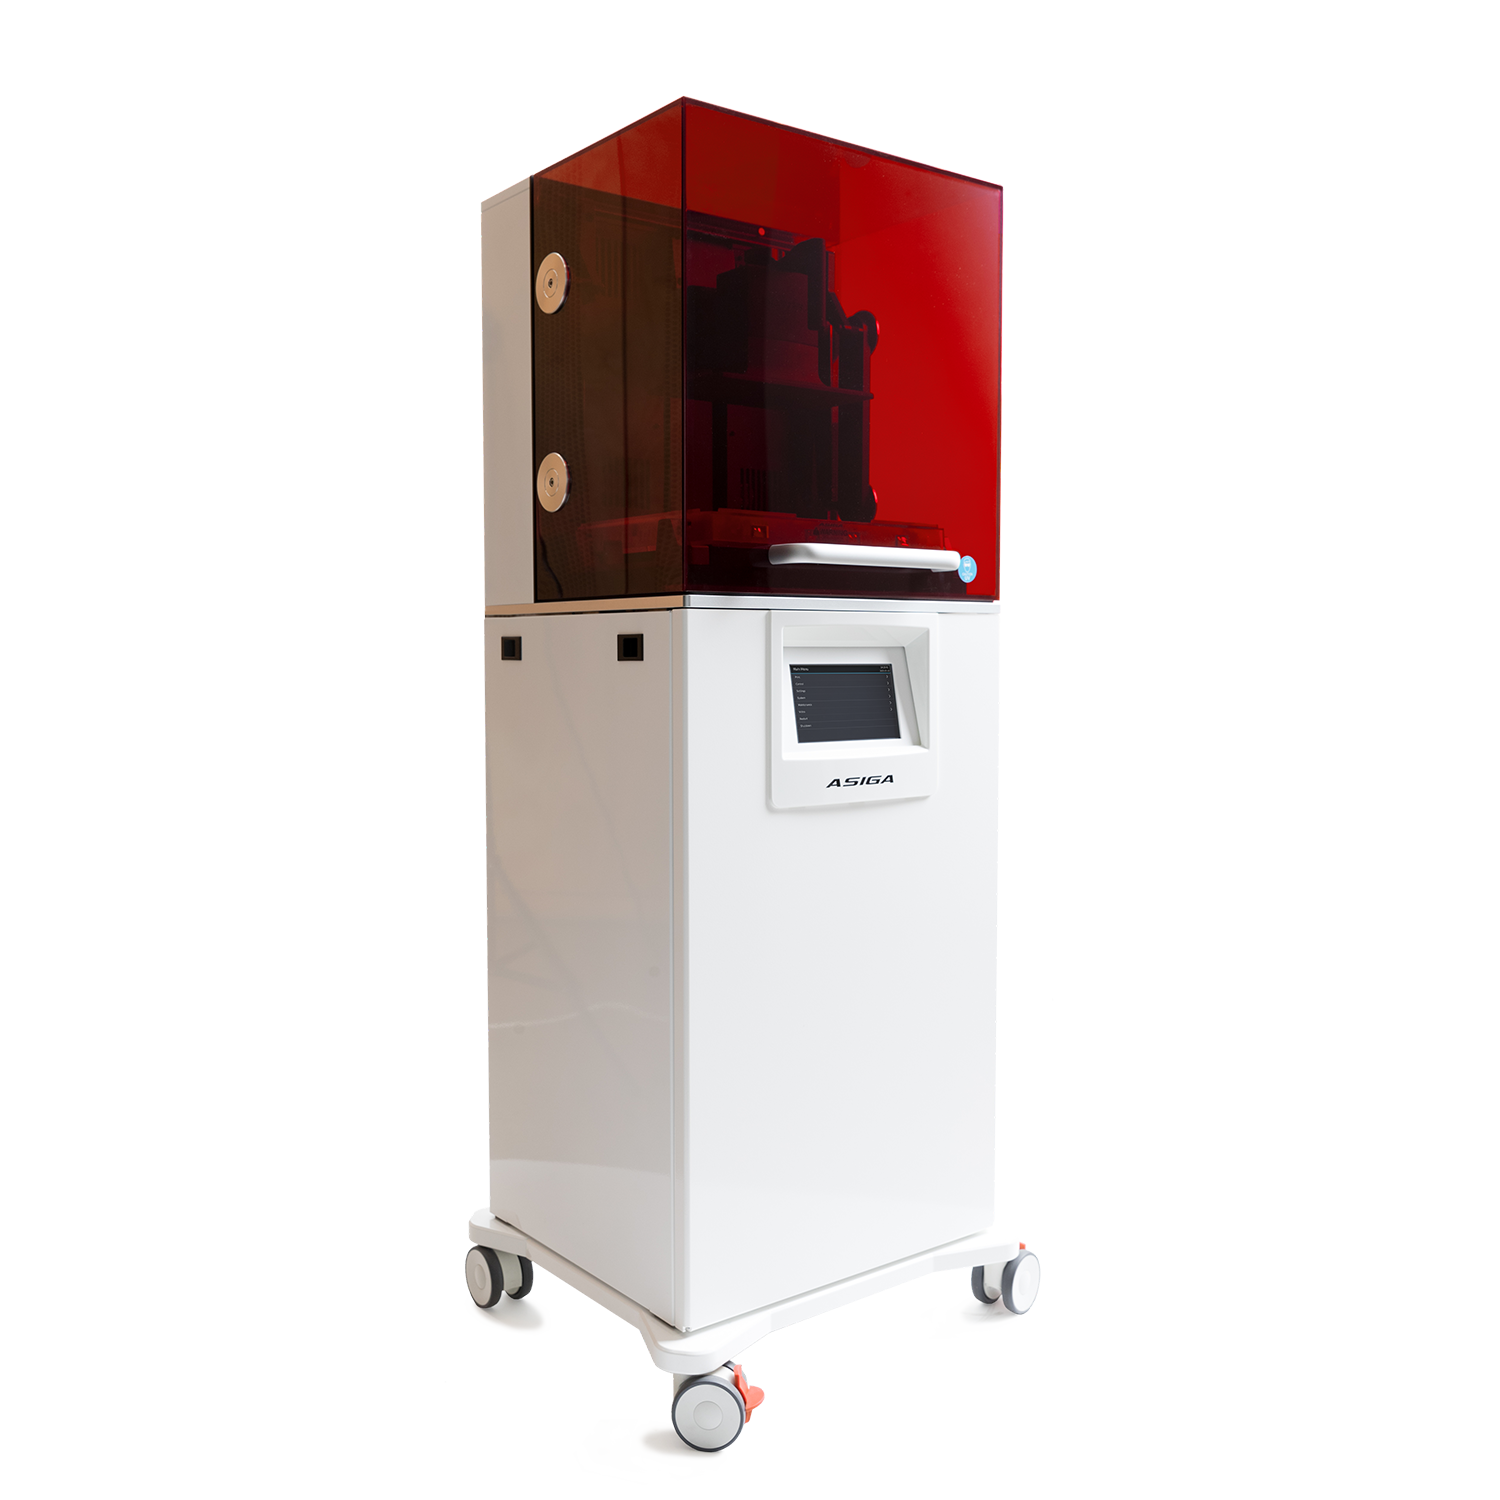
We had always had a great relationship with our friends at Whip Mix, and now we were being offered a chance to Beta test a couple of new printers for them. It was as much of an experiment on their end as it was ours because we were not yet 3D printing and they were willing to send us some very expensive equipment to see how things went. We took our bumps and bruises at first, but Corey Lambertson and his digital tech support crew were always there to help us out and get us going again. With their help we were able to navigate the learning curve rather quickly and eventually ended up purchasing two Asiga Pro 2 printers to handle just the model work from our IOS cases.
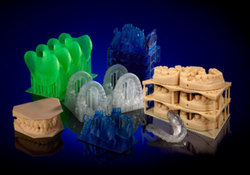
We knew that models were just the beginning. We had plans of doing guided surgery cases, and possibly hard splints as well. That was a huge part of why we were so intrigued by the Asiga line. It was easy to change out trays for new materials and the build time was pretty short, i.e. requiring only 3 hours to print a full tray of models at 50 microns resolution. The fact that the printer was open source was also a plus. It would allow us the flexibility to change materials as new materials became available. It was an easy decision as we would not be locked into one manufacturer's material, and we had the flexibility to change out materials in minutes with zero material waste, unlike some of the others we were looking at.
Day 1
When our first printer was delivered, we were ready. We had a room in the lab upgraded with an industrial 2-shelf set up that would allow us to maximize the space; printers up top, materials and supplies down below.
Once installed, things went pretty smoothly right out of the box. We had them up and running in a couple of hours and had very little down time. A small miracle in my eyes, as we had no one in the lab with more than a couple of months printing experience, and our “IT Department” was an outsourced one. They had almost no experience at all dealing with 3D Printers. There was very little need for them however. The Asiga software took in .stl files, and was pretty easy to learn. It dropped into our current CAM set up with very little problems. It was like we were sending a crown to the mill, but instead it was a model that went to print.
The Integration
I handled the printing for the first couple of months as I was the architect behind the network of files that flow through the CAD/CAM Department. I wanted to make sure we didn’t need to change anything major. Soon after, I began training a permanent technician. I selected a team member from our scanning team because of her textbook-like notes and attention to detail. She was a very organized person and I knew that when I had to move her onto a new challenge, her notes would serve as an instruction manual for the next technician. It turned out to be the best choice I could have made. We got lucky in having that person ready and waiting for the opportunity. I would imagine most labs have a person like that waiting in the weeds. They need to be at ease with computers and machines. The people who come back there and ask questions about the new machines are probably the people you want to train to work with it. They will be engaged in the new technology and eager to learn more about something they probably have only seen on TV.
Our Future with 3D Printing
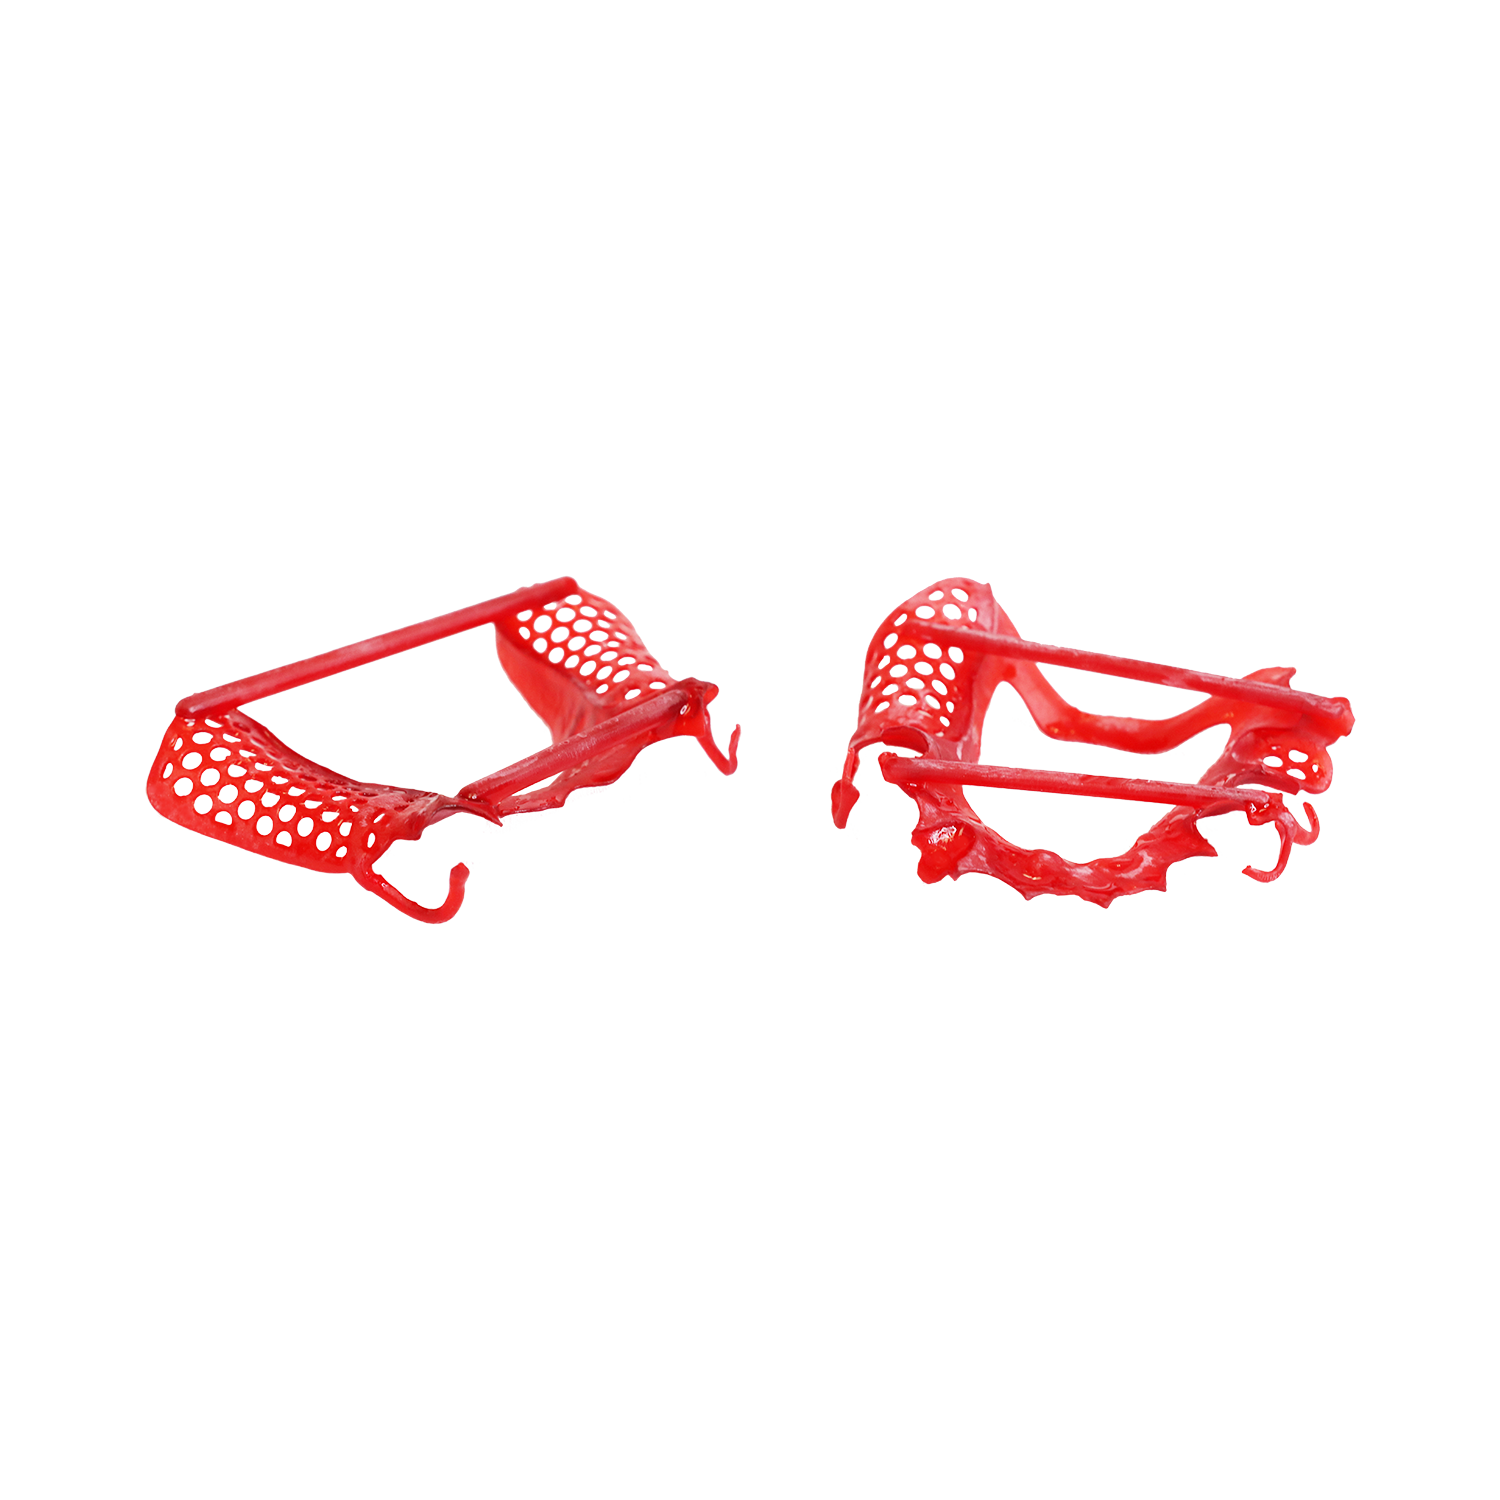
We have since started printing surgical guides and are in the process of digitizing our splint line as well. The only problem we have is that IOS cases have since doubled and our versatile printers don’t have time for anything but models. We purchased a couple of well-known, less expensive, printers in order to handle the small parts we were starting to print and added those into the system as well. Looking back I’m not sure how we ever did IOS cases without these printers.
In the beginning we looked at 3D printing as a luxury and an expensive entry-level technology, but the technologies we purchased through Whip Mix turned out to be about the cost of a new zirconia mill. It was a relatively easy learning curve and something I consider a permanent new technology at Artistic Dental Laboratories.


.jpg)
Leave a comment