I've fabricated my fair share of working models throughout my career as a Technician and have learn that sometimes things go as planned, sometimes they don't. While the MainStay Pinning System is easy to use, I wanted to share some tips I've learned along the way so you can fabricate working models with the system like a pro.
So let's dive right in...
Use a low expansion die stone
The first step to fabricating a successful working model is selecting the right die stone. It’s recommended that you start out using a low expansion die stone. However, higher expansion stone may be needed if doing seating as there is a great deal of internal adjustments on the restorations made using lower expansion stone.
Once a stone has been selected, mix the material under vacuum for 30 second and pour your final impression using the correct water powder ratio.
Setting time is not the same as separation time
Where most people end up having problems is the amount of time they let the poured model set before removing it from the impression. For example, most people think the set times listed on the gypsum instructions means it is ok to pull the model and begin work. ResinRock for example has a set time of 10 minutes; this is the initial set only and doesn’t indicate time needed to develop strength. Even when the instructions say ‘separation after 30 minutes’ this should only be attempted with alginate.
Wait 1-hour before pulling the model to begin work
Whatever type of impression you are dealing with, 1-hour is a good point at which you can start trimming the model. The is recommended for a few reasons:
- The material will develop sufficient strength to minimize breakage
- Over 80% of the expansion will have taken place.
The type of MainStay Pin you use will determine how you will want to set your bur
Once you have trimmed the model, it is time to drill the holes to receive the pins. It’s recommended that you use the Mainstay Drill Bit, as it is designed to drill the precise hole size for the Mainstay and Mainstay II pins. If you decide on the Mainstay, you will need to set the bit to engage the countersink portion of the drill bit. This will create a recessed area for the pin's collar to rest on during cementation using Mainstay Glue. However, if you will be using the Mainstay II you don’t need a recessed area and can set the drill bit not to engage the countersink in the model.
You can expedite the cementation process with the MainStay Accelerator
I know we all love speeding up the process and this can be done by using Mainstay Accelerator. Simply spray it at the base of the pins once they are cemented in the holes, this will rapidly set the glue.
Apply a stone separating medium before placing the red plastic sleeves and rubber end caps
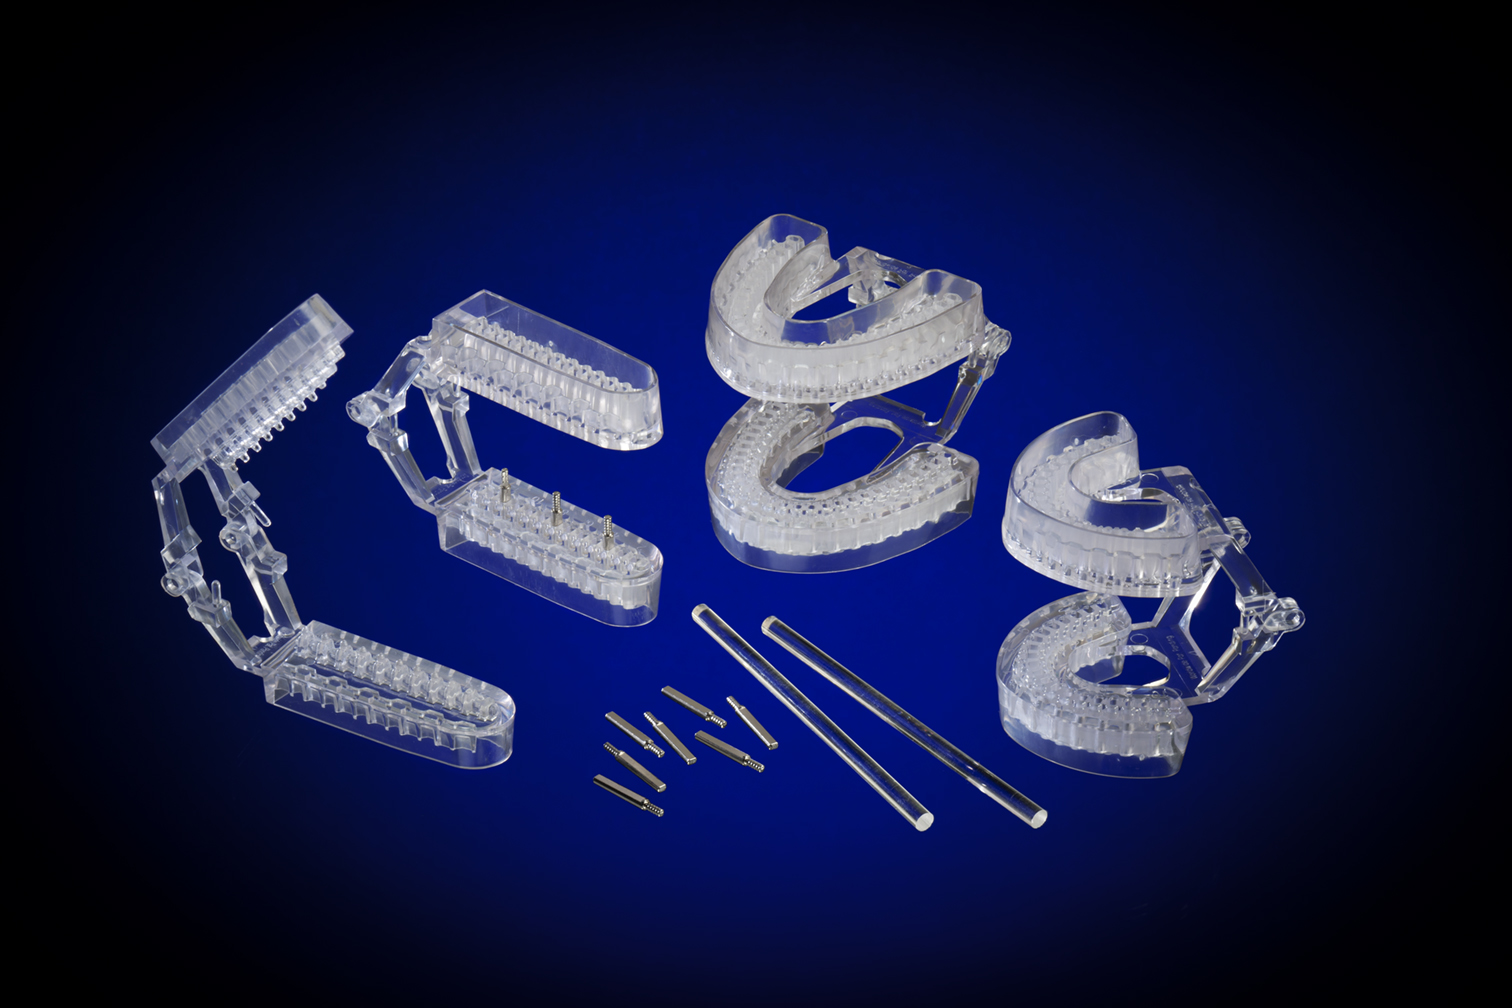
Before placing the red plastics sleeves and rubber endcaps, it is a good idea to go ahead and paint the stone surfaces of the pinned model that will contact the base stone with a reliable stone separating medium. Once dry, place sleeves and rubber end caps on all pins. The sleeves provide a set non-abradable hole to insert the pins, while the rubber end caps can be removed after the base stone has set to allow easy access to pins and removal of the dies.
Use a low expansion stone for your base
Once the pinned model is ready to be based, many methods can be employed but using a pourable, low expansion stone is best. A low expansion base stone, like Flowstone, is easy to use and will give accurate predictable results. The low expansion, like that of Flowstone (.08%), is key to providing dimensionally stable model work for your restorations.
Wait a full hour before pulling the pinned working model from the base
I know, waiting is not fun and once that base is poured it will initially set in 12 minutes, but waiting a full hour before pulling the pinned working model from the base will ensue over 80% of the expansion has occurred and sufficient compressive strength has developed. Removal of the model before one hour could contribute to ill-fitting working dies.
Remember as the base sets, expansion is occurring and the holes are moving. As you section dies, it’s a good idea to place them back in the holes where they were removed.
You are now ready to trim dies; seal and paint die spacer if desired. Just like building a house, a quality dental restoration needs a good foundation and that begins with sound model work.
Are you using the MainStay Pinning System? What tips or tricks have you learned?








Leave a comment