


The use of a ‘transfer’ mark to judge the relationship between parts has existed for many years and in many industries. Administrative Assistants used carbon paper to duplicate letters long before copy machines, and type writers used coated ribbon to transfer the symbol from a striker to the paper long before laser and ink jet printing. Gun makers used fire soot to coat the metal parts and then transfer a soot mark to the tight areas of wooden parts they were trying to match.
In the dental laboratory and in the clinical setting we use Articulating or Occlusal Marking Paper or film, to indicate spots on a tooth that come into premature contact with opposing dentition. These papers and films come in varying thickness and colors and are used at the technicians or clinicians discretion.
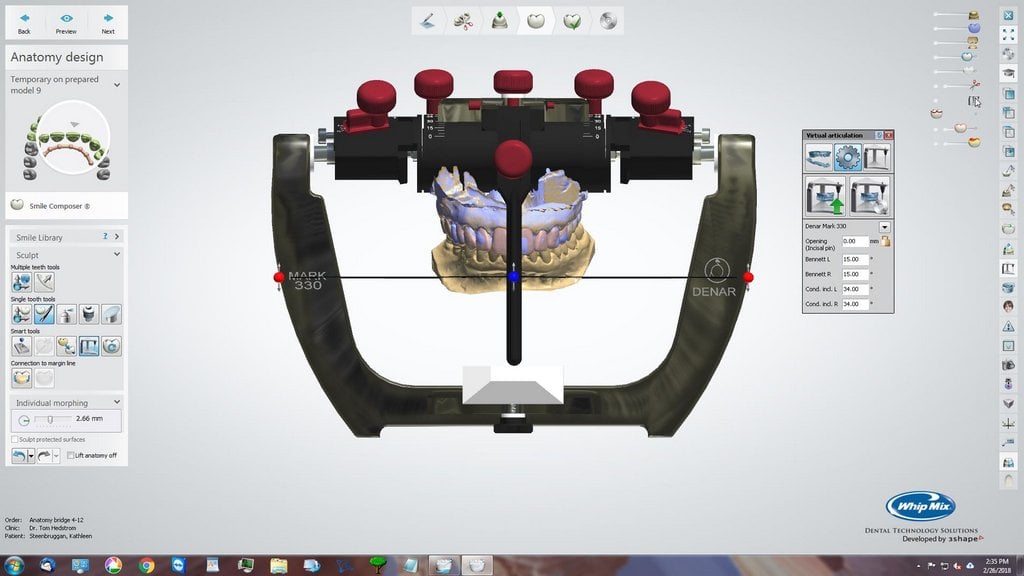
The case is mounted on an articulator using the bite registration or by placing the casts in maximum intercuspation (MI). The articulating paper or film is then placed between the teeth and the upper and lower models are closed onto the paper or film. Light pressure is applied to force the upper and lower models together. When the two casts are opened and the paper or film removed, a mark will be left on the cast showing the spot where the models touched.
In a process know as “equilibration”, these marks are removed with an instrument, and the process repeated until there are multiple and even marks across the occlusal surfaces of the cast. This would indicate that the teeth are contacting in a well distributed and an even manner. In a clinical setting the doctor would use the same process (also referred to as selective grinding) to balance the patients bite and remove interference or collision during mastication.
Once this corrected bite is established on the articulated casts, the waxing or porcelain process can begin. With the wax up or stacked porcelain completed, the occlusal relationship of the new restoration can be checked by following the same process. Place the paper or film between the teeth and on top of the restoration. Close the casts and apply light pressure to the models. Open the articulator and remove the paper or film. Premature or ‘high’ spots will be established by the mark on the restoration. The clinician will determine how He/She wants the intercuspation in vitro. The technician should have specific communication with the clinician regarding the occlusal plan for the case. Remove these marked areas with an instrument until you are “out of occlusion” by noting that the paper no longer marks on the occlusal surface of the restoration. Look for three (3) marks in a “tripod” arrangement on the cusps surrounding a fossa for “tripodized occlusion”.
Work accurately, taking care to not over reduce the models or the restoration in the process of checking intercuspation.


.png)
Leave a comment