

 Digitally produced temporaries, utilizing today’s materials, have esthetic potential and physical properties far superior to those of traditionally processed acrylic. In addition, they can open up new markets and profit centers for labs that have shied away from them in the past due to the logistics and labor involved with traditional temporary processing. The ability to digitally design and mill them simplifies the process immensely.
They do, however, bring their own unique set of considerations into play. It is very important to determine how you will proceed before entering the case into your software, as the approach taken will determined how you should proceed.
There are two basic paths that one can take to produce digital temporaries, each with its own specific requirements and unique Pros and Cons.
- Temporaries produced on prepared teeth. While I have had a situation where after prepping the patient, it was decided to do long term temps, this is rather rare. More commonly the doctor will send a pre-op study model that would then be lightly prepared by hand in the lab with the temps produced on this model. This is the situation I will be referring refer to as Scenario 1.
- The temporaries are produced on a digitally prepared model. Again, the doctor sends the pre-op study model, but rather than physically preparing the teeth, the model is simply scanned after making any corrections to the smile design, then digitally prepared by the technician.
The single most important requirement when producing shell temporaries is to provide the dentist with a simple method of properly aligning and positioning them in the mouth when he relines them. When a doctor is simply handed a set of shell temporaries to reline in the mouth, it is virtually impossible for him to get them in the correct place without a placement aid, yet, this is exactly what happens in many situations. We have all seen the results, i.e. slanting or offset midlines, sloping incisal planes, etc. Afterward, we receive the final models to do the case with a note stating “Please correct canted midline”, or “Please lengthen the left side”...when none of this would have been necessary had we provided the tools to properly position the temporaries in the first place.
Scenario 1
This approach offers advantages and disadvantages, as well as its own unique digital case flow. Because the temporaries will be produced on an actual prepared model, the data entry workflow is exactly the same as when producing a monolithic bridge. The only difference being selection of PMMA as the material with the appropriate corresponding milling parameters.
If you hand wax the model for proper smile design first, be sure to complete your case entry including a “PrePrep Scan” to capture this layout for the temps before you prepare the teeth on the model.
Start the scanning procedure, capture the waxed “PrePrep” model then exit the software. Now, prep the model and re-scan the case. When asked, do “Load Old File” for the pre-prep but use your prepped model for the Prep scan. This way you can “Morph to PrePrep”, to produce the temporaries exactly like your waxup. Keep in mind that additional cement gap is not needed with any temporary designing since they will be relined in the mouth.
Because an actual model is used, a hard putty matrix can be made around the arch to capture the temps and any unprepared teeth after the temps are milled, seated, and finished, This is then delivered with the case to the doctor for use in the mouth to hold the temps in the proper position as his reline acrylic sets.
Care must be taken not to over-prepare the teeth. This may cause fit problems for the doctor. Removing too much from the model will require him to either prepare the natural teeth more aggressively, or hollow out the temporaries to get them to passively fit prior to re-lining. It is almost impossible to hand prepare teeth to a precise depth everywhere and maintain parallelism to insure they seat and do not impinge on the preps in the mouth. It is also difficult to detect under-prepared areas. At that point, a decision must be made on how to proceed: Stop modeling, reduce the thin areas some more, rescan and continue, or simply thicken the area -- which might be okay if it is not a critical contour area.
Scenario 2
Scenario 2 has distinct advantages in that digital preparation of the model is very precise. The thickness can be controlled to a fraction of a millimeter and it is always parallel. It also negates the need to do a “PrePrep” scan, because when the final waxed model is scanned and then digitally prepared, the original full contour scan becomes its own “pre-prep template” for easy & quick modeling of the temps.
The major disadvantage is that there is no physical model, therefore there is no way to try it to determine fit or to fabricate a Transfer Matrix of any kind. It is therefore imperative that occlusal/incisal onlays or “pads” be defined and attached to each end of the temporary on the adjacent unprepared teeth on both sides. The doctor can then seat the temps onto these teeth to hold them in position during relining. He then simply cuts these “pads” off when finishing the margins and polishing. In 3Shape, these “occlusal pads” should be defined as “Copings” and included as part of the temporary bridge. In order for the software to accept the design, the “Copings” need to also be defined as PMMA with the same manufacturing process as the temporaries. When modelling, just draw your “margin” a few millimeters down from the occlusal/incisal edge.
One interesting advantage of shell temps when a “seating aide” is provided is that they can also function as a reduction guide. With this in mind, you may choose to produce temporaries with slightly more wall thickness to help the doctor achieve at least a minimal amount of reduction. I personally like to use 1.0mm rather than the default of 0.6mm. This should be discussed with the doctor before implementing.
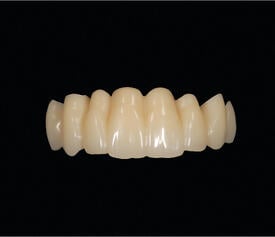
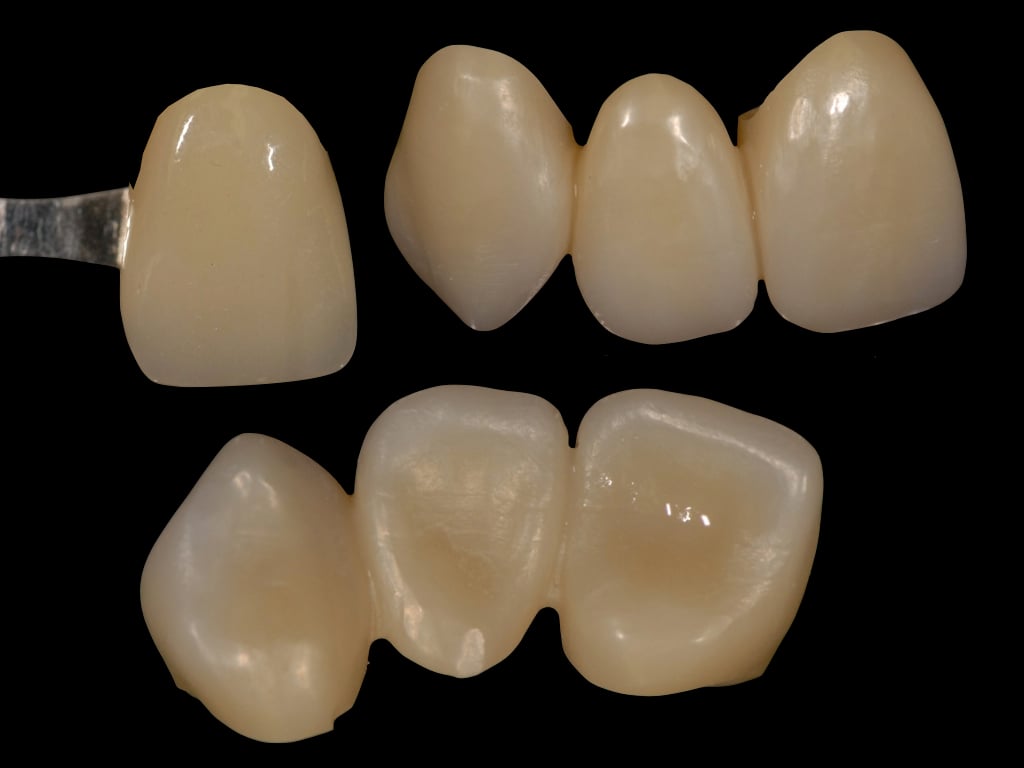
Photo Credit: Restoration created by Al Fillastre, CDT and owner of Ceram-O-Arts Dental Lab


Leave a comment