


Dental System 2013 has brought quite a few changes to the 3Shape design kit. The following are a few that I find to be particularly helpful in creating efficient, effective digital dental restorations.
 Change Order Form during design
Tired of having to redesign a case because you needed to change the order form indication during the design stage? 3Shape Dental System 2013 has remedied this problem with the ability to change the indication in the middle of the design workflow. The margin line and anatomical design will be preserved through this change. This is particularly useful when changing an implant library.
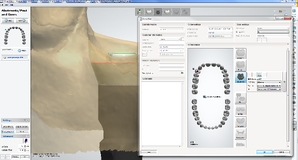
Clicking the change implant button during the Emergence profile step of designing will open up the order form and allow you to modify the implant specification. From the order form you can modify the implant system, the implant kit, material, manufacturer, and shade. Once the order form is saved, you are dropped back into Dental Designer at the same stage of design but with the new indications.
Dentist Dependent CAD Settings
Dental System 2013 introduces the ability to create dentist dependent CAD settings. Once created within the site’s settings page, these new settings will be pulled into Dental Designer instead of your defaults when the site is selected as a specific customer in your Order Form. This saves time during the design stage and prevents the headache of remodeling a case if we forget to change the settings.
3Shape made setting up dentist dependent CAD settings a breeze. To add one, simply navigate to the Site Settings page of the Dental System Control Panel. Here you will find the list of dentists and/or labs which you set up in your system. Under each site entry there will be a section called “Dentist dependent CAD settings.” Clicking the “Add” icon will create a new entry where you can specify the name, indication, material, and specific design settings for one type of restoration for the given site. Although titled “dentist dependent,” this feature may also be used to specify settings for a lab that is outsourcing design work to you.
 Virtual Articulation
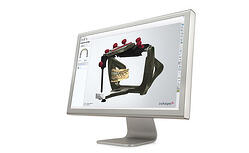
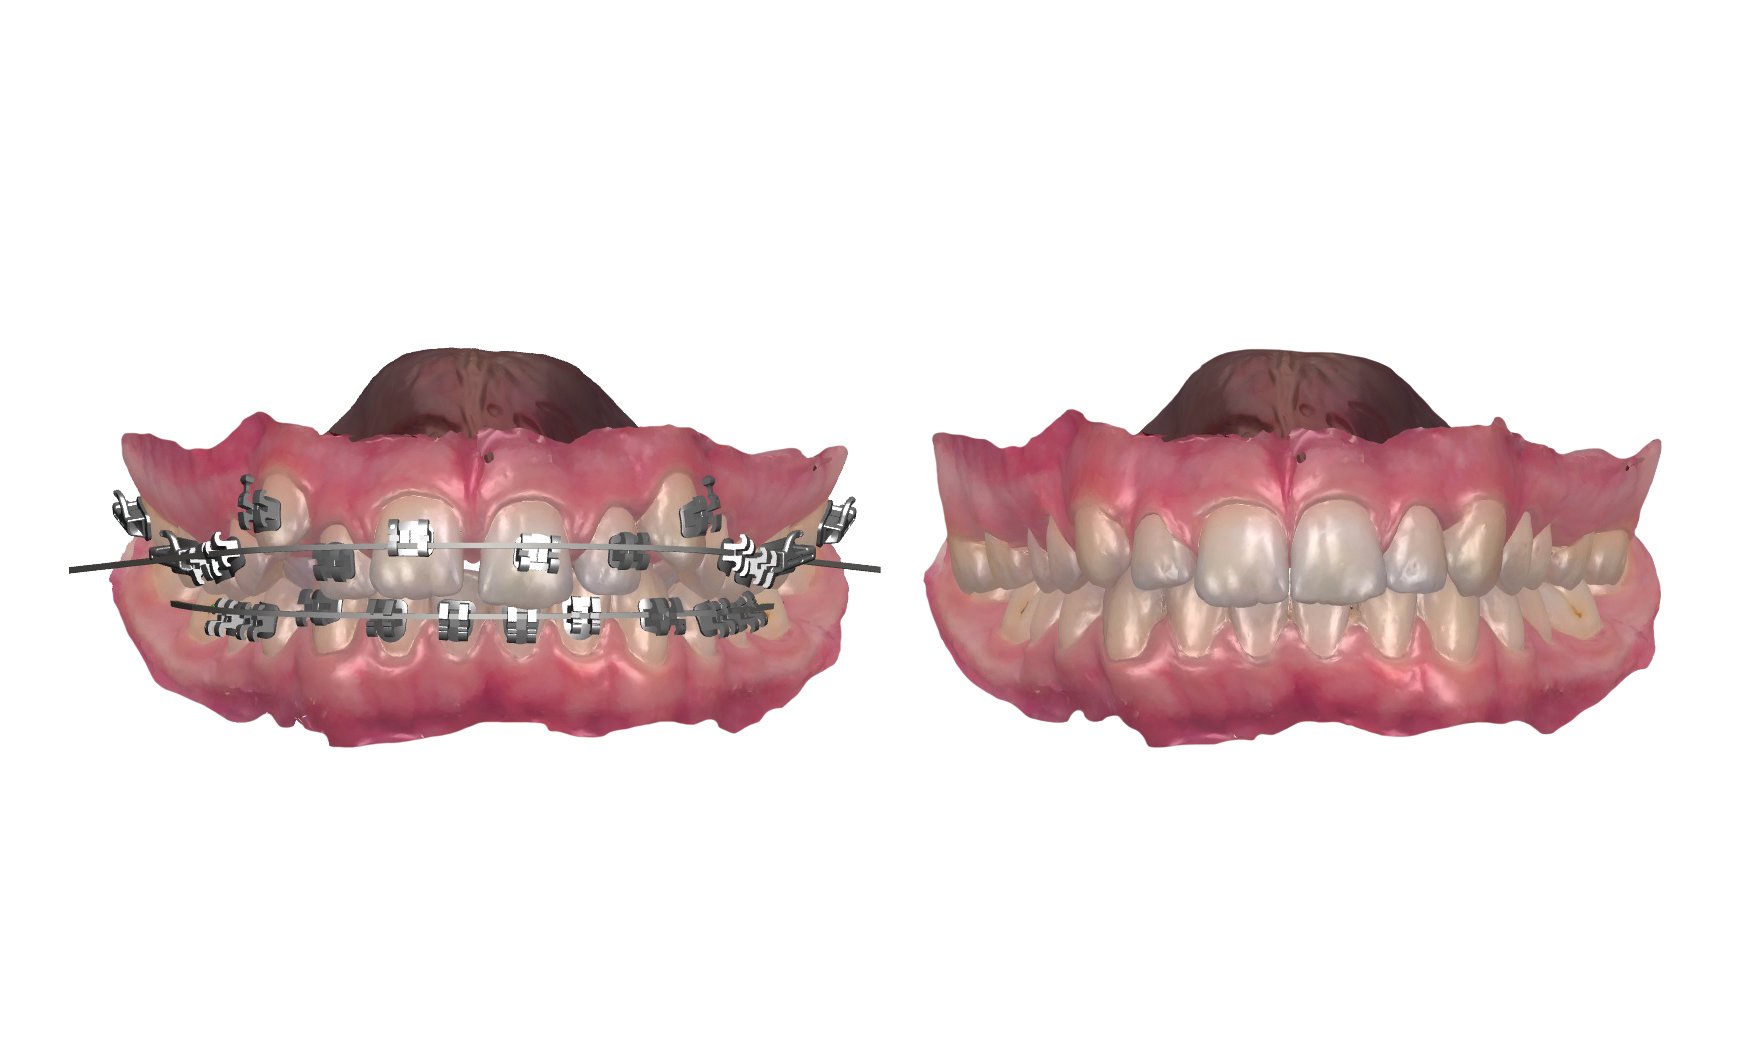
3Shape has stepped up to the plate once again and delivered a technology that adds a whole new level of accuracy to digital dental restorations. The implementation of Virtual Articulation in Dental System 2013 allows the technician to preserve the relationship of mounted casts during the scanning process. This means that we can now utilize the information provided by a face-bow transfer in the digital workflow. The two key components of utilizing this technology are using a compatible split cast mounting system, specific to an articulator supported by 3Shape, and a 3Shape Scanner Interface Plate.
Once you have obtained the mounting plates and appropriate scanner interface plate, all you need to do is mount your casts based on the instructions for your set of split cast plates. Next you will need to set up your order in 3Shape the same way you would for any other case. When you get to the scanning phase, just use the scanner interface plate instead of a regular scanning plate. This will transfer the exact relationship of your casts in the articulator. Once you reach the Smile Composer step of your design you will have access to Virtual Articulation. After clicking the articulator button on the right side tool bar a window will pop up giving you the ability to set your values for Bennett shift and condylar inclination. You can then use the virtual articulator to evaluate and adapt your designs.


Leave a comment